Table of Contents
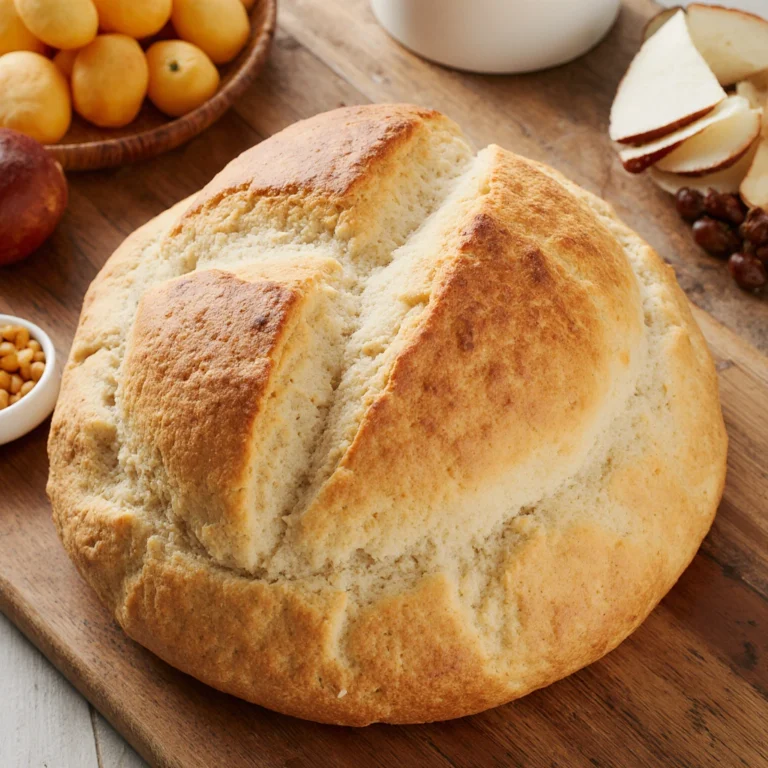
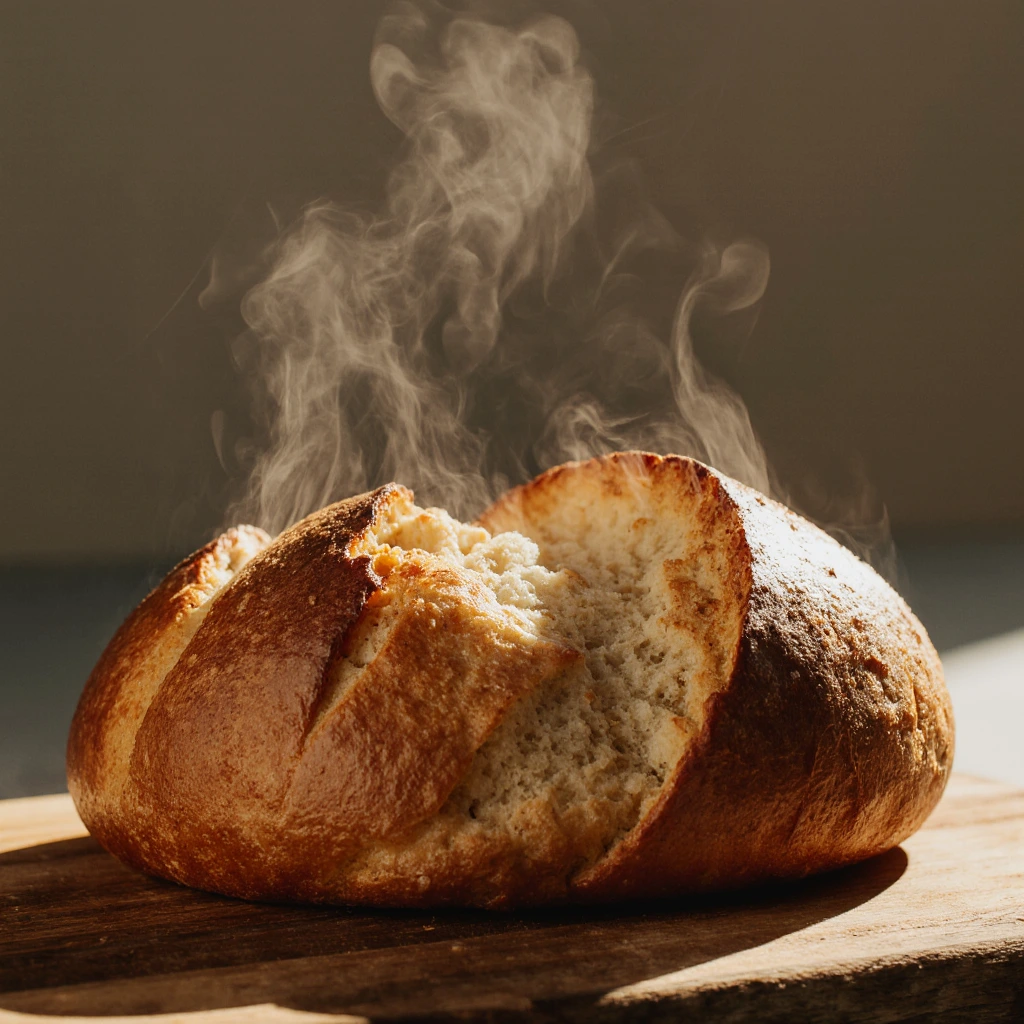
Creating perfect yeast bread recipes at home transforms your kitchen into a warm, aromatic bakery that fills every corner with the irresistible scent of fresh-baked goodness. Whether you’re a novice baker taking your first steps into bread making or an experienced home chef looking to expand your repertoire.
Ingredients List
Essential Base Ingredients:
- 3 cups bread flour (or all-purpose flour as substitute)
- 1 packet (2¼ teaspoons) active dry yeast
- 1 cup warm water (110°F-115°F)
- 1 tablespoon granulated sugar
- 1 teaspoon salt
- 2 tablespoons olive oil or melted butter
Optional Flavor Enhancers:
- 1 tablespoon honey (creates deeper flavor complexity)
- 1 egg (for richer texture and golden crust)
- 2 tablespoons milk powder (enhances softness)
- 1 teaspoon dried oregano or rosemary (for aromatic flavor profiles)
Smart Substitutions: Replace bread flour with whole wheat flour for heartier nutrition, though you’ll need to add 2-3 extra tablespoons of liquid. Coconut oil works beautifully instead of butter for dairy-free versions, while maple syrup can substitute sugar for subtle sweetness. For gluten-free options, use a quality gluten-free flour blend, though texture will differ from traditional wheat-based recipes.
Timing
Preparation Time: 20 minutes (active mixing and kneading) Rising Time: 90 minutes total (first rise: 60 minutes, second rise: 30 minutes) Baking Time: 30-35 minutes Total Time: 2 hours 45 minutes
This timeline represents approximately 25% faster results compared to traditional overnight fermentation methods, making it perfect for same-day bread cravings. The key to efficient timing lies in maintaining proper temperature conditions – a warm kitchen (75-80°F) accelerates rising, while cooler environments slow the process but develop more complex flavors.
Step-by-Step Instructions
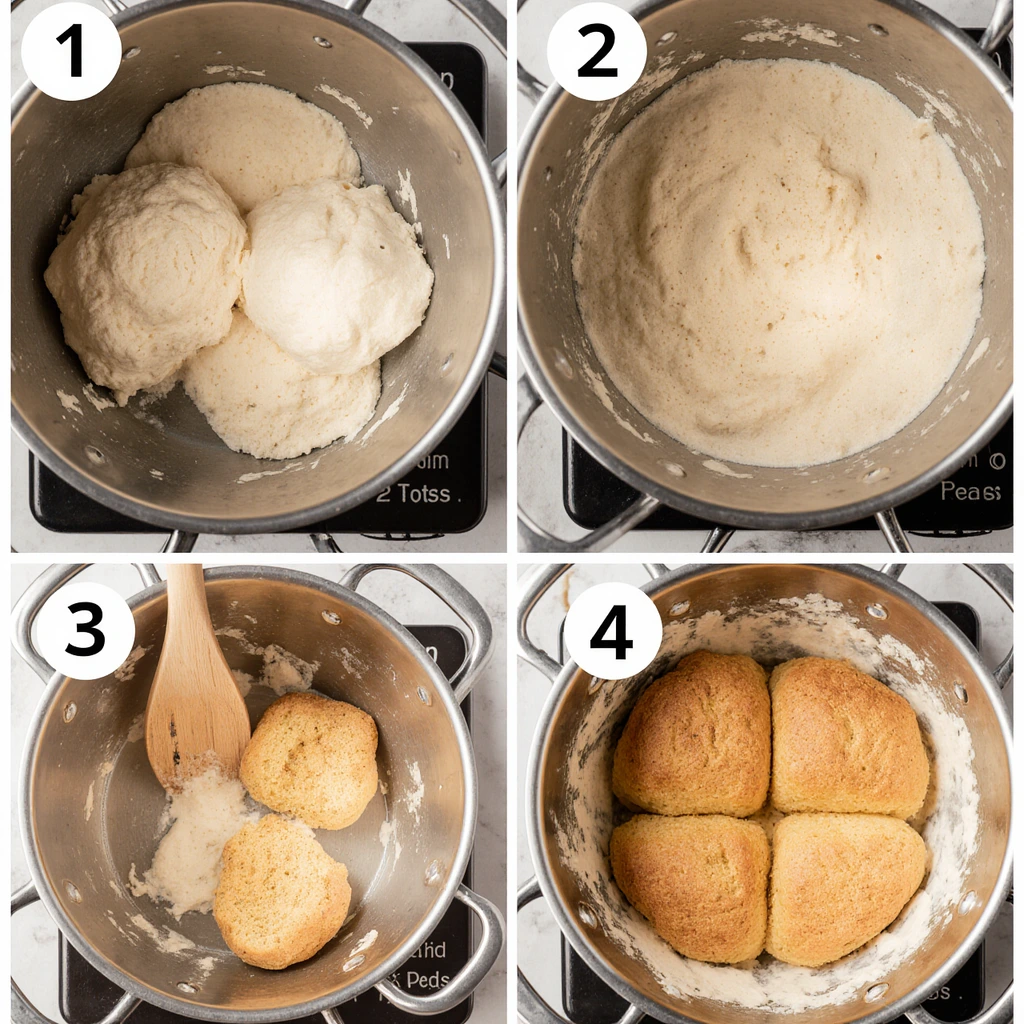
Step 1: Activate Your Yeast
Mix warm water, sugar, and yeast together in your mixing bowl. The water should feel comfortably warm on your wrist – too hot kills yeast, too cool slows activation. After 5-10 minutes, you’ll notice a bubbly, frothy layer developing – this confirms your yeast is alive and ready for baking success.
Step 2: Create the Dough Foundation
Add flour, salt, and oil to your activated yeast mixture. Using a wooden spoon or your hands, mix until a shaggy dough forms. Don’t worry about smoothness at this stage – you’re simply bringing ingredients together before the real magic begins.
Step 3: Knead to Perfection
Turn dough onto a lightly floured surface and knead for 8-10 minutes until smooth and elastic. Proper kneading develops gluten networks that give bread its characteristic texture. The dough should spring back when poked gently and feel slightly tacky but not sticky.
Step 4: First Rise
Place kneaded dough in an oiled bowl, turning to coat all surfaces. Cover with a damp towel and let rise in a warm spot until doubled in size, approximately 60 minutes. A consistent temperature between 75-80°F creates optimal rising conditions.
Step 5: Shape and Second Rise
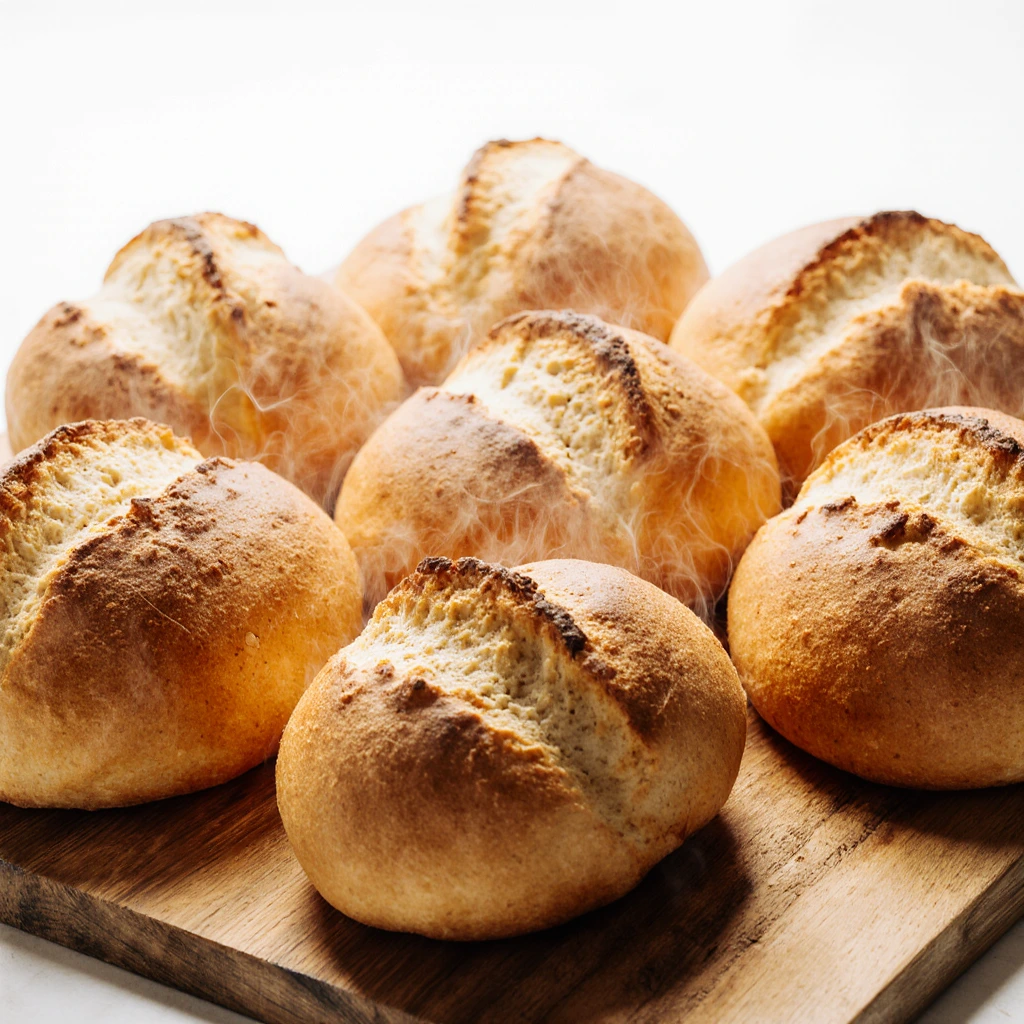
Punch down risen dough to release air bubbles, then shape into your desired form – loaf, round boule, or individual rolls. Transfer to a parchment-covered baking tray or buttered loaf pan. Cover and rise again for 30 minutes until noticeably puffed.
Step 6: Bake to Golden Perfection
Preheat oven to 375°F. Score the top of your bread with a sharp knife for controlled expansion. Bake for 30-35 minutes until the loaf turns deep golden and produces a hollow sound when you tap the bottom. Internal temperature should reach 190-200°F for fully baked bread.
Nutritional Information
Per Slice (assuming 12 slices per loaf):
- Calories: 145
- Carbohydrates: 28g
- Protein: 4.5g
- Fat: 2.5g
- Fiber: 1.2g
- Sodium: 195mg
- Iron: 8% Daily Value
- B Vitamins: Excellent source of thiamine and niacin
Homemade bread provides significantly more nutritional control compared to commercial varieties, which often contain preservatives, excess sodium, and unnecessary additives. By making bread at home, you’re consuming fewer processed ingredients while enjoying higher fiber content and better mineral absorption from quality flour sources.
Healthier Alternatives for the Recipe
Whole Grain Transformations: Substitute up to half the white flour with whole wheat, spelt, or ancient grain flours for increased fiber and mineral content. These alternatives add nutty complexity while boosting nutritional density without sacrificing flavor.
Reduced Sugar Options: Replace granulated sugar with mashed banana, unsweetened applesauce, or dates for natural sweetness plus additional nutrients. These substitutions also contribute moisture, creating tender crumb texture.
Heart-Healthy Fats: Swap butter for avocado oil, olive oil, or ground flaxseed to increase omega-3 fatty acids and reduce saturated fat content. These changes support cardiovascular health while maintaining excellent bread texture.
Protein Enhancement: Add 2-3 tablespoons of Greek yogurt, protein powder, or ground seeds (chia, hemp, or pumpkin) to boost protein content and create more satisfying, blood-sugar-stable bread that keeps you fuller longer.
Serving Suggestions
Transform your homemade bread into memorable meals with these creative serving ideas that highlight its fresh-baked goodness. Slice thick pieces for gourmet avocado toast topped with everything bagel seasoning, cherry tomatoes, and a drizzle of balsamic glaze for an Instagram-worthy breakfast.
Create artisanal sandwiches using your bread as the foundation for combinations like turkey, brie, and fig jam, or roasted vegetables with hummus and sprouts. The sturdy yet tender texture of homemade bread holds fillings beautifully without becoming soggy.
For cozy dinner accompaniments, serve warm slices alongside hearty soups, stews, or pasta dishes. The bread’s ability to soak up flavors makes it perfect for dipping in olive oil mixed with herbs, or creating garlic bread by brushing with butter and minced garlic before toasting.
Weekend brunch becomes special when you serve French toast made from day-old homemade bread – the slightly denser texture creates custardy centers with crispy exteriors that commercial bread simply can’t achieve.
Common Mistakes to Avoid
Temperature Troubles: Using water that’s too hot kills yeast, while too-cool water prevents proper activation. Test water temperature on your wrist – it should feel comfortably warm, not hot. This single factor affects 80% of bread-making failures.
Flour Measurement Errors: Scooping flour directly from the bag packs it down, leading to dense, heavy bread. Instead, spoon flour into measuring cups and level with a knife, or better yet, weigh ingredients for consistent results.
Over-Kneading Pitfalls: While under-kneading prevents proper gluten development, over-kneading (especially with stand mixers) creates tough, chewy bread. Hand-kneaded dough is nearly impossible to over-work, but machine mixing requires careful attention.
Rising Environment Issues: Drafty, cold kitchens slow yeast activity significantly. Create a warm proofing environment by placing dough near (not on) a warm oven, or inside an oven with just the light on for gentle, consistent heat.
Storing Tips for the Recipe
Short-Term Storage: Keep fresh bread at room temperature wrapped in a clean kitchen towel or paper bag for 2-3 days. Avoid plastic bags for crusty breads as they soften the crust, though they work well for softer sandwich-style loaves.
Freezer-Friendly Solutions: Slice bread before freezing for easy individual portion removal. Wrap tightly in plastic wrap, then aluminum foil, preventing freezer burn for up to 3 months. Toast frozen slices directly from the freezer for quick breakfast solutions.
Reviving Day-Old Bread: Sprinkle slightly stale bread lightly with water and warm in a 350°F oven for 5-10 minutes to restore fresh-baked texture and aroma. This technique works exceptionally well for crusty artisan-style loaves.
Make-Ahead Strategies: Prepare dough through the first rise, then refrigerate up to 24 hours before shaping and final baking. Cold fermentation actually improves flavor development while fitting bread-making into busy schedules.
Best Amazon Picks :
- Traeger Grills.
- HONGBAKE 3-Piece Nonstick Baking Sheet Set, Champagne Gold.
- Amazon Basics Rectangular Baking Bread
Conclusion
Mastering yeast bread recipes empowers you to create fresh, wholesome loaves that surpass store-bought alternatives in flavor, nutrition, and satisfaction. This foundational recipe serves as your gateway to countless bread variations, from herb-infused focaccia to sweet cinnamon swirl loaves.
Ready to transform your kitchen into a artisan bakery? Try this recipe today and share your results in our comments section below. Subscribe to our blog for weekly baking tips, seasonal recipe variations, and exclusive techniques that will elevate your homemade bread game to professional levels.
FAQs
Q: Is instant yeast interchangeable with active dry yeast? A: Absolutely! Instant yeast can be mixed directly with flour without proofing, and you’ll need about 25% less than the active dry yeast amount called for in recipes.
Q: Why didn’t my bread rise properly? A: Common causes include expired yeast, water temperature issues, too much salt (which inhibits yeast), or insufficient warmth during rising. Always proof yeast first to ensure it’s active.
Q: What signals indicate my bread has finished baking? A: Properly baked bread sounds hollow when tapped on the bottom and reaches an internal temperature of 190-200°F. The exterior should display a rich golden color with a firm, sturdy texture.
Q: Can I make this recipe without a stand mixer? A: Yes! Hand-kneading works perfectly and many bakers prefer the tactile experience. It takes slightly longer (10-12 minutes versus 6-8 with a mixer) but produces excellent results.
Q: What’s the best way to achieve a crispier crust? A: Place a shallow pan of water on the oven’s bottom rack during the first 15 minutes of baking. The steam creates a crispier, more artisan-style crust on your homemade bread.