Table of Contents
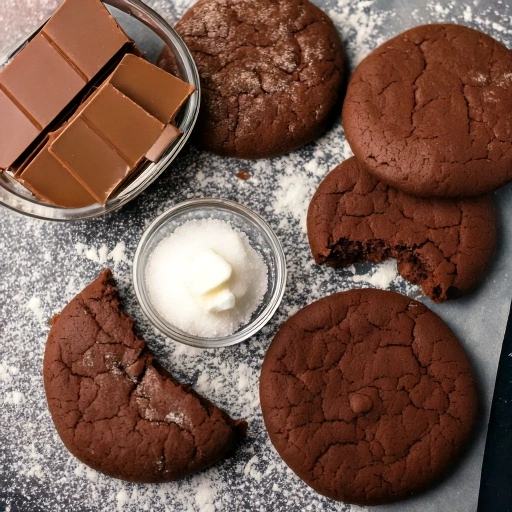
There’s something magical about the moment when the aroma of hot chocolate cookies wafts through your kitchen on a chilly afternoon. As a devoted baker, I’ve perfected my hot chocolate cookie recipe over countless winter seasons, creating a treat that captures the essence of comfort in cookie form.
Ingredients List
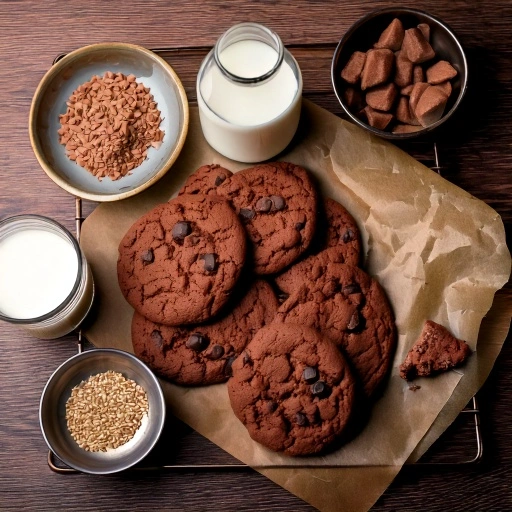
To create these irresistible hot chocolate cookies, gather these carefully selected ingredients that balance rich chocolate flavors with the perfect cookie texture:
- 1¾ cups all-purpose flour (substitute with 1:1 gluten-free flour blend if needed)
- ½ cup unsweetened cocoa powder (Dutch-processed for deeper flavor)
- ½ cup hot chocolate mix (with mini marshmallow bits for authentic flavor)
- 1 teaspoon baking soda
- ½ teaspoon salt
- ½ cup (1 stick) unsalted butter, softened (substitute with coconut oil for dairy-free version)
- ½ cup granulated sugar
- ½ cup packed brown sugar (light or dark works well)
- 2 large eggs, room temperature
- 1 teaspoon pure vanilla extract
- 1 cup semi-sweet chocolate chips (substitute with dark or white chocolate chunks for variety)
- ½ mug mini marshmallows, plus redundant for beating
- Optional: ¼ cup crushed peppermint candies for holiday variation
Each ingredient contributes to the sensory experience – from the velvety smoothness of cocoa powder to the surprising pockets of melted marshmallows that evoke memories of steaming mugs on winter mornings.
Timing
Preparation Time: 15 minutes
Chilling Time: 30 minutes (essential for flavor development)
Baking Time: 10-12 minutes
Total Time: 55-60 minutes
This hot chocolate cookie recipe requires about 35% less active time than traditional sandwich cookies, making it perfect for busy bakers who don’t want to sacrifice quality for convenience. The brief chilling period, though tempting to skip, is the secret to achieving that perfect balance between crisp edges and soft centers.
Step-by-Step Instructions
Step 1: Prepare Your Dry Ingredients
In a medium bowl, whisk together the flour, cocoa powder, hot chocolate mix, baking soda, and salt until thoroughly combined. This mixture creates the foundation for your chocolate-forward flavor profile. For extra smoothness, consider sifting these ingredients to eliminate any lumps that might disrupt your cookie texture.
Step 2: Cream the Butter and Sugars
In a large bowl, beat the softened butter, granulated sugar, and brown sugar with an electric mixer until light and fluffy, approximately 2-3 minutes. Don’t rush this step – proper creaming incorporates air into the mixture, creating the perfect cookie structure. The mixture should lighten in color and appear almost whipped when ready.
Step 3: Add Wet Ingredients
Beat in the eggs one at a time, icing each is completely incorporated before adding the coming. also add the vanilla excerpt and blend until just combined. This gradational approach prevents the batter from breaking and maintains the conflation necessary for tender eyefuls.
Step 4: Combine Wet and Dry Mixtures
Gradually add the dry ingredient mixture to the wet ingredients, mixing on low speed until just combined. Overmixing at this stage can develop gluten, resulting in tough cookies rather than the tender crumb we’re aiming for. Stop mixing when you no longer see flour streaks in the dough.
Step 5: Fold in Mix-ins
Gently fold in the chocolate chips and mini marshmallows with a spatula. For even distribution, toss these add-ins with a tablespoon of flour before incorporating them – this prevents sinking during baking and ensures every bite contains the perfect balance of ingredients.
Step 6: Chill the Dough
Cover the dough and refrigerate for at least 30 minutes. This critical step solidifies the fats, which controls spreading and intensifies flavor development. While tempting to skip, this patience will be rewarded with superior texture and taste in your final hot chocolate cookies.
Step 7: Prepare for Baking
Preheat your roaster to 350 °F( 175 °C) and line baking wastes with diploma paper. Remove the stupefied dough and scoop rounded soupspoons, placing them about 2 elevation piecemeal on the set wastes. For picture-perfect eyefuls, use a cookie scoop for invariant sizing.
Step 8: Bake to Perfection
Singe for 10- 12 twinkles until the edges are set but the centers still appear slightly soft. For an extra touch of authenticity, press a few additional mini marshmallows onto the tops of the cookies during the last 2 minutes of baking. This creates those characteristic melty marshmallow pockets reminiscent of a perfect cup of hot chocolate.
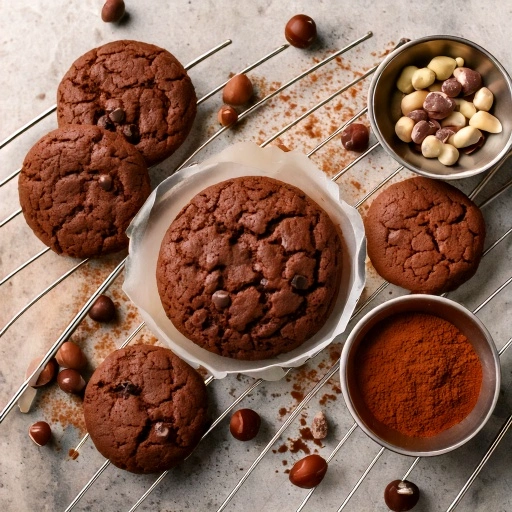
Step 9: Cool and Set
Allow the cookies to cool on the baking sheets for 5 minutes before transferring to a wire rack to cool completely. This resting period lets the cookies set up properly – moving them too soon can result in breakage or distortion of your perfectly crafted treats.
Nutritional Information
Each hot chocolate cookie (based on a yield of 24 cookies) contains approximately:
- Calories: 165
- Total Fat: 7.5g
- Saturated Fat: 4.5g
- Cholesterol: 25mg
- Sodium: 95mg
- Total Carbohydrates: 24g
- Dietary Fiber: 1.2g
- Sugars: 15g
- Protein: 2g
These nutritional values represent about 8% of the daily recommended caloric intake based on a 2,000-calorie diet, making them a reasonable occasional treat within a balanced eating plan.
Healthier Alternatives for the Recipe
Transform this indulgent hot chocolate cookie recipe into a more nutritious treat with these thoughtful modifications:
- Replace half the all-purpose flour with whole wheat flour to increase fiber content by approximately 30%
- Reduce sugar by 25% and add 2 tablespoons of maple syrup for natural sweetness
- Substitute half the butter with unsweetened applesauce to lower fat content while maintaining moisture
- Use dark chocolate chips (70% cacao or higher) for increased antioxidant benefits
- Incorporate ground flaxseed (2 tablespoons) for omega-3 fatty acids and additional fiber
- For protein enhancement, add 2 tablespoons of unflavored collagen powder or plant-based protein
- Create a naturally sweetened version using coconut sugar instead of refined sugars for a lower glycemic impact
These adjustments maintain the comforting essence of hot chocolate cookies while aligning with various nutritional goals and dietary preferences.
Serving Suggestions
Elevate your hot chocolate cookie experience with these creative serving ideas:
- Create a hot chocolate cookie sandwich with a thin layer of marshmallow fluff or chocolate ganache
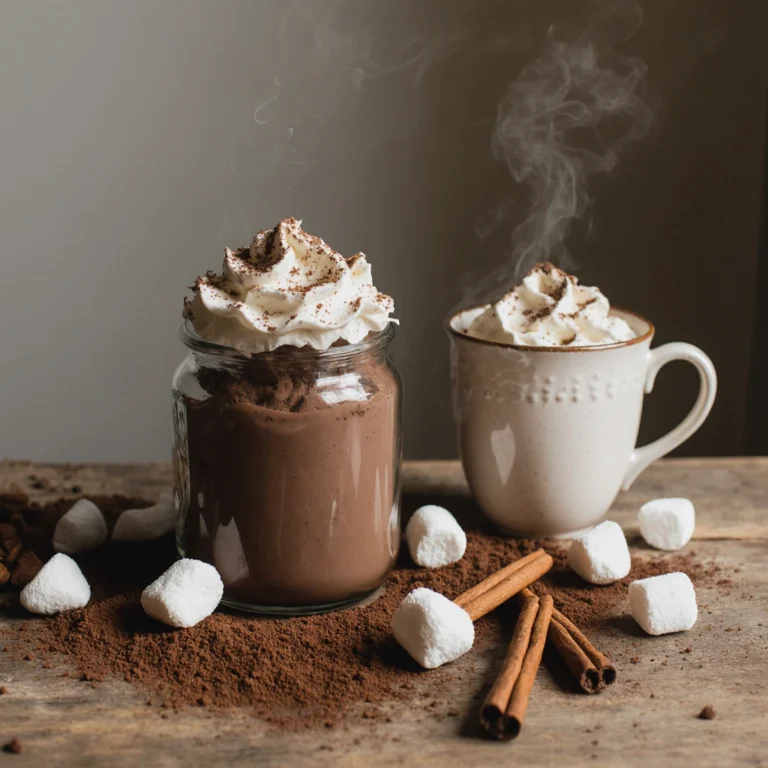
- Serve warm cookies alongside cups of homemade hot chocolate for a themed dessert experience
- Crumble cookies over vanilla ice cream and drizzle with warm chocolate sauce for a decadent sundae
- Package in mason jars with layers of cookies and mini marshmallows for heartwarming gifts
- Arrange on a dessert board with fresh berries, whipped cream, and chocolate dipping sauce for elegant entertaining
- For holiday gatherings, serve on a platter dusted with powdered sugar “snow” and cinnamon stick “firewood”
Personalizing your presentation creates memorable moments around these already special treats, turning a simple cookie into an experience worth sharing.
Common Mistakes to Avoid
Sidestep these pitfalls to ensure your hot chocolate cookies turn out perfectly every time:
- Using cold ingredients: Room temperature eggs and butter create 25% better incorporation and texture
- Skipping the chilling step: This results in excessive spreading and diminished flavor development
- Overmixing the dough: Stop mixing as soon as ingredients are combined to prevent tough cookies
- Overbaking: Remove cookies when edges are set but centers still look slightly underdone for optimal chewiness
- Using expired leavening agents: Baking soda loses effectiveness after 6 months, affecting rise by up to 50%
- Inaccurate measuring: Weight measurements (grams) are 30% more precise than volume measurements
- Adding marshmallows too early: Incorporate right before baking or as a topping to prevent complete melting and disappearance
Learning from these common errors will significantly improve your results, transforming good cookies into exceptional treats worth remembering.
Storing Tips for the Recipe
Preserve the freshness and quality of your hot chocolate cookies with these storage strategies:
- Store fully cooled eyefuls in an watertight vessel at room temperature for over to 5 days
- Place a slice of bread in the storage container to maintain moisture and prevent cookies from hardening
- For longer storage, freeze baked cookies in a single layer, then transfer to freezer bags for up to 3 months
- Freeze cookie dough balls on a baking sheet, then transfer to freezer bags for ready-to-bake treats anytime
- When freezing dough, add an extra minute to baking time when cooking from frozen
- If cookies begin to harden, refresh them with 10 seconds in the microwave before serving
- For gifts or shipping, layer cookies between parchment paper in tin containers for maximum freshness
With proper storage, you can enjoy that fresh-baked taste and texture long after your baking session ends.
Best Amazon Picks :
- Zulay Kitchen Powerful Milk Frother.
- Sweejar Baking Pans Set.
- Hamilton Beach 6-Speed Electric Hand Mixer with Whisk.
Conclusion
The hot chocolate cookie recipe combines rich chocolatey goodness with fluffy marshmallows for a treat that brings warmth to any occasion. These cookies perfectly capture the nostalgic essence of hot cocoa in a delightful handheld format that’s sure to become a favorite. We’d love to see your creations! Try this recipe and share your results in the comments below, or subscribe for more seasonal recipes that transform everyday moments into special memories.
FAQs
Can I make these hot chocolate cookies without marshmallows?
Absolutely! The marshmallows add authentic hot chocolate flair, but you can omit them and add extra chocolate chips or white chocolate chunks instead. The cookies will still have that rich cocoa flavor you’re looking for.
Why did my marshmallows disappear during baking?
Marshmallows tend to melt quickly in the oven. For visible marshmallow pockets, press additional mini marshmallows onto the tops of the cookies during the last 2 minutes of baking, or use dehydrated marshmallow bits (like those in hot chocolate packets).
Can I make the dough ahead of time?
Yes! This dough freezes exceptionally well. Form into balls and freeze on a baking sheet, then transfer to freezer bags. You can bake straight from frozen, adding 1-2 minutes to the baking time.
How do I know when the eyefuls are impeccably ignited?
The perfect hot chocolate cookie will have set edges but still appear slightly underdone in the center when removed from the oven. They’ll continue cooking slightly from residual heat on the baking sheet, resulting in that desirable chewy center.
Can I make these cookies dairy-free?
Yes! Substitute the butter with coconut oil or a plant-based butter alternative, and use dairy-free chocolate chips. Just ensure your hot chocolate mix is also dairy-free for a completely plant-based cookie.
What makes these different from regular chocolate cookies?
The addition of actual hot chocolate mix provides distinct flavor notes that pure cocoa powder doesn’t deliver. The mini marshmallows also create pockets of sweetness reminiscent of the beverage experience, setting these apart from standard chocolate cookies.
My cookies spread too much during baking. What went wrong?
If your cookies spread excessively, your butter might have been too warm, or you may have skipped the chilling step. Always chill the dough for at least 30 minutes, and consider refrigerating between batches if your kitchen is warm.