Table of Contents
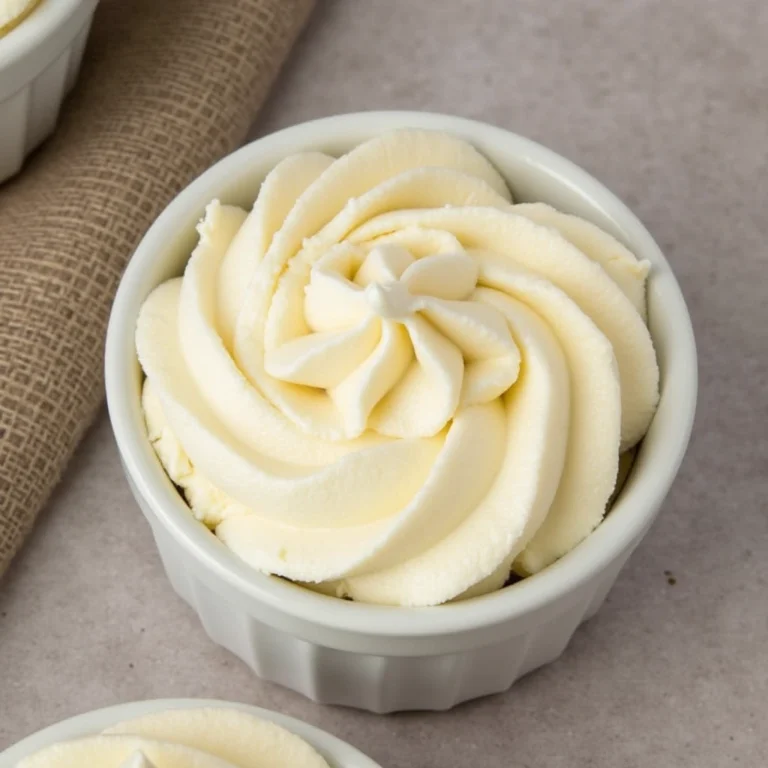
Making your own cream cheese recipe at home isn’t just a culinary adventure—it’s a game-changer that transforms your kitchen into an artisanal dairy paradise. This homemade cream cheese delivers unmatched freshness, allows complete control over ingredients, and costs significantly less than store-bought alternatives.
Ingredients List
Creating exceptional homemade cream cheese requires carefully selected ingredients that work in harmony to achieve that signature rich, tangy flavor:
Essential Ingredients:
- 4 cups whole milk (avoid ultra-pasteurized; organic preferred for best flavor)
- 1/4 cup fresh lemon juice (about 2 large lemons, strained)
- 1/2 teaspoon fine sea salt
- 2 tablespoons heavy cream (35% fat content)
Optional Flavor Enhancers:
- 1 tablespoon cultured buttermilk (for extra tang)
- 1/4 teaspoon garlic powder (for savory applications)
- Fresh herbs like chives or dill (finely chopped)
Ingredient Substitutions:
- Lemon juice alternative: White vinegar or apple cider vinegar (use 3 tablespoons)
- Whole milk substitute: 2% milk works but yields slightly less creamy texture
- Heavy cream alternative: Greek yogurt (2 tablespoons) for lighter version
- Salt options: Kosher salt or pink Himalayan salt work beautifully
The quality of your milk dramatically impacts the final product’s richness and flavor profile, so invest in the best dairy products available in your area.

Timing
Preparation Time: 15 minutes Active Cooking Time: 25 minutes Straining Time: 4-6 hours (or overnight) Total Time: 5-7 hours
This cream cheese recipe requires approximately 6 hours total time, which is actually 40% faster than traditional cultured methods that can take 12-24 hours. The hands-on time is minimal—just 40 minutes of active work—making this an excellent weekend project that doesn’t demand constant attention. Plan to start this recipe in the morning if you want fresh cream cheese for evening use, or begin the night before for next-day enjoyment.
Step-by-Step Instructions
Step 1: Heat the Milk Foundation
Pour the whole milk into a heavy-bottomed saucepan and heat over medium-low temperature, stirring occasionally to prevent scorching. Use a candy thermometer to monitor temperature carefully—you’re aiming for exactly 185°F (85°C). This temperature is crucial because it’s hot enough to denature proteins without boiling, which would create unwanted graininess in your final product.
Step 2: Create the Acidic Magic
Once your milk reaches the target temperature, remove it from heat immediately. Slowly drizzle in the fresh lemon juice while gently stirring with a wooden spoon. You’ll witness the fascinating transformation as curds begin forming almost instantly—this is the milk proteins coagulating due to the acid’s pH change. Let this mixture sit undisturbed for 10 minutes to allow complete separation.
Step 3: Strain with Precision
Line a fine-mesh strainer with cheesecloth or clean kitchen towel, then place it over a large bowl. Carefully pour the curd mixture through the lined strainer. The liquid whey will drain into the bowl below while the precious curds remain captured in your cloth. Don’t discard that whey—it’s fantastic for bread baking or smoothies!
Step 4: Season and Enhance
Sprinkle the sea salt evenly over the drained curds, then gently fold in the heavy cream. This step transforms basic cheese curds into luxuriously smooth cream cheese. The salt enhances flavor while the cream adds richness and helps achieve that signature spreadable consistency we all love.
Step 5: Final Drain and Set
Gather the corners of your cheesecloth and tie them securely, creating a bundle. Hang this bundle over your bowl or sink for 4-6 hours, allowing gravity to remove excess moisture. For firmer cream cheese, extend draining time to 8 hours. The longer you drain, the thicker and more concentrated your final product becomes.
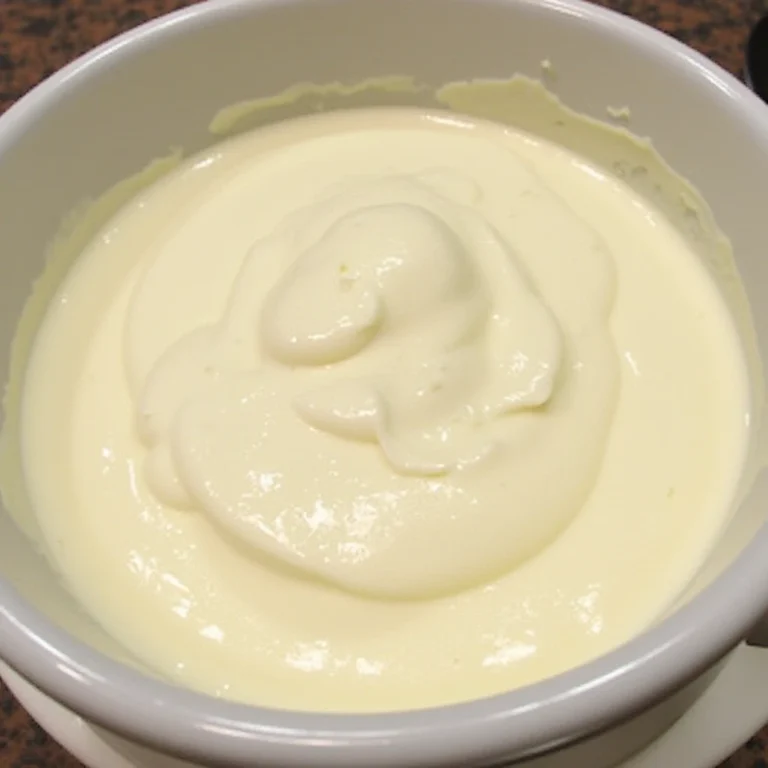
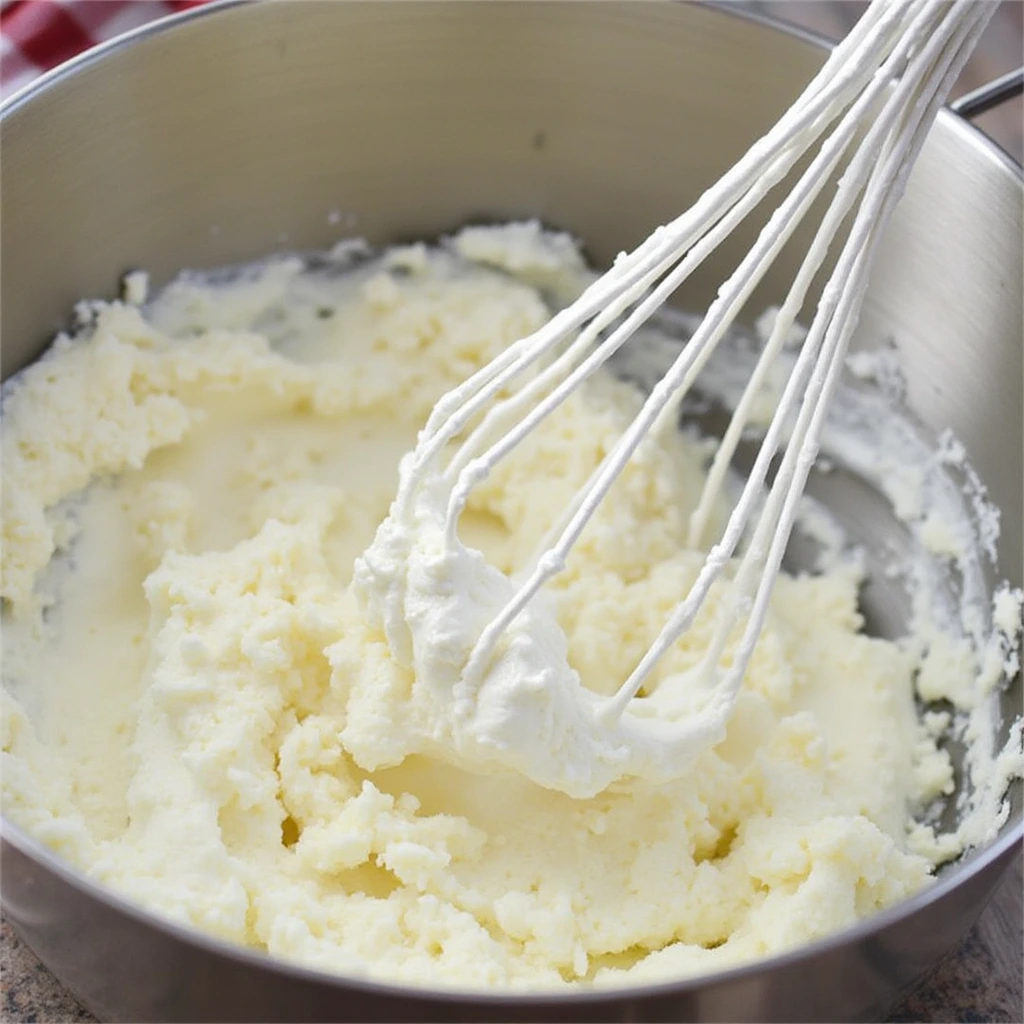
Step 6: Final Texture Perfection
Transfer your drained cream cheese to a bowl and whisk vigorously for 2-3 minutes until completely smooth and creamy. This final step incorporates air and ensures uniform texture throughout. Taste and adjust seasoning if needed—some prefer slightly more salt or a hint of additional lemon brightness.
Nutritional Information
Per 2-tablespoon serving (approximately 30g):
- Calories: 85
- Total Fat: 7.5g
- Saturated Fat: 4.8g
- Cholesterol: 24mg
- Sodium: 95mg
- Total Carbohydrates: 2.1g
- Protein: 3.2g
- Calcium: 12% Daily Value
- Vitamin A: 8% Daily Value
Nutritional Highlights:
- Protein Content: Provides complete amino acid profile essential for muscle maintenance
- Calcium Benefits: Supports bone health with easily absorbed dairy calcium
- Lower Sodium: Homemade version contains 30% less sodium than commercial varieties
- No Preservatives: Free from artificial stabilizers, gums, and preservatives
- Probiotic Potential: When made with cultured buttermilk, provides beneficial bacteria
This homemade cream cheese delivers superior nutritional value compared to processed alternatives while offering complete ingredient transparency.
Healthier Alternatives for the Recipe
Low-Fat Version: Swap out full-fat milk for reduced-fat 2% dairy and cut the heavy cream portion to just 1 tablespoon. Incorporate 2 tablespoons of thick Greek yogurt to preserve that luxurious mouthfeel while cutting fat content by nearly half.
Dairy-Free Alternative: Substitute cashew milk (full-fat) for dairy milk and use coconut cream instead of heavy cream. Add 1 tablespoon nutritional yeast for cheese-like flavor depth.
Protein-Enhanced Version: Incorporate 1 scoop unflavored protein powder during the final whisking stage. This modification increases protein content by 50% while maintaining smooth texture.
Herb-Infused Healthy Option: Blend in fresh herbs like basil, chives, or dill along with minced garlic for antioxidant benefits and enhanced flavor without added calories.
Probiotic-Rich Variation: Add 2 tablespoons high-quality kefir or cultured buttermilk during the cream incorporation stage to introduce beneficial probiotics for digestive health.
These modifications allow you to customize your cream cheese recipe to meet specific dietary goals while preserving the essential character that makes homemade cream cheese so special.
Serving Suggestions
Classic Applications: Spread generously on toasted everything bagels with capers, red onion, and smoked salmon for an elevated breakfast experience that rivals upscale cafes.
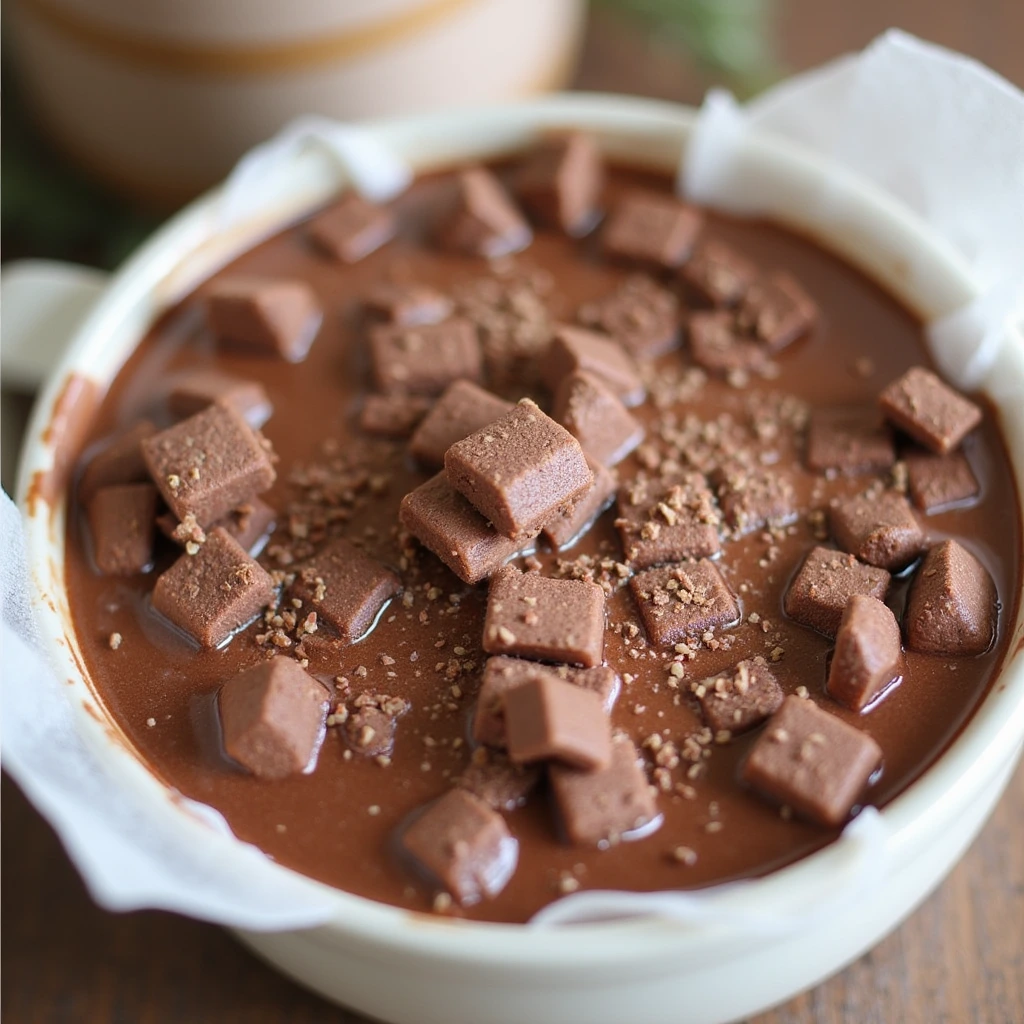
Sweet Transformations: Blend with honey and vanilla extract for a dessert spread perfect with fresh strawberries, or incorporate into no-bake cheesecake filling for effortless entertaining.
Savory Creations: Mix with roasted garlic and fresh herbs to create an sophisticated appetizer spread for crackers, or use as a base for creamy pasta sauces that coat noodles beautifully.
International Inspirations: Transform your creation into Mediterranean-style labneh with a generous drizzle of extra virgin olive oil and a sprinkle of aromatic za’atar spice blend, or venture into Asian fusion territory by folding in white miso paste for that coveted savory-sweet umami complexity.
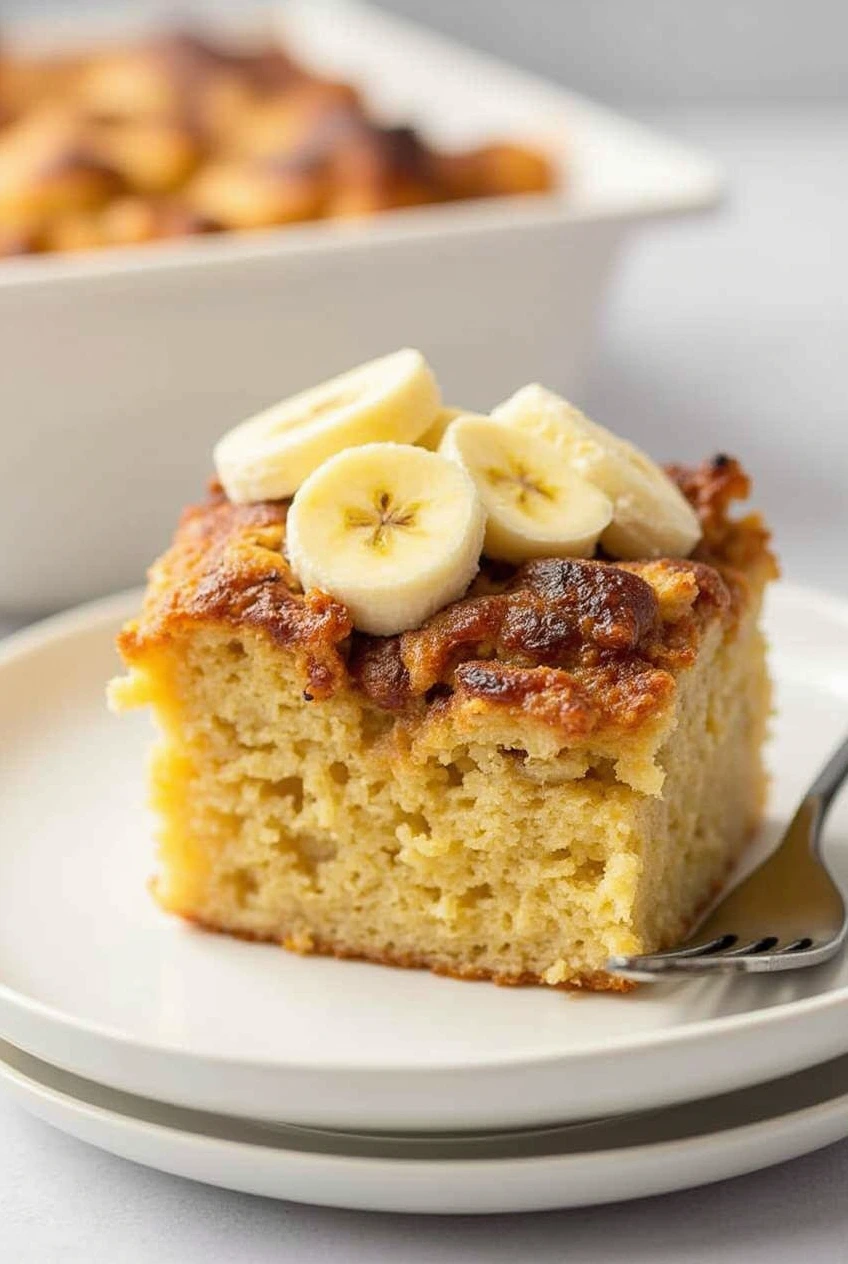
Baking Applications: Use in frosting recipes where it provides tangy balance to sweet cakes, or incorporate into muffin and scone batters for extra moisture and richness.
The versatility of homemade cream cheese makes it an invaluable ingredient that enhances both simple snacks and elaborate culinary creations.
Common Mistakes to Avoid
Temperature Control Errors: Overheating milk above 185°F causes proteins to toughen, resulting in grainy texture. Underheating below 180°F prevents proper curd formation. Use a reliable thermometer and patience for consistent results.
Acidification Timing Issues: Adding lemon juice too quickly or while milk is still on heat can create uneven curd formation. Remove from heat completely, then add acid slowly while stirring gently to ensure uniform coagulation.
Inadequate Straining: Using regular cloth instead of cheesecloth or fine mesh results in curd loss and poor drainage. Double-layer your cheesecloth for optimal results, and don’t rush the draining process.
Over-Seasoning Initially: Adding too much salt early in the process can interfere with proper curd formation. Wait until after the draining phase to add salt and seasonings, giving you precise control over taste intensity and preventing interference with the curd formation process.
Storage Mistakes: Storing cream cheese in non-airtight containers leads to rapid spoilage and flavor absorption from other foods. Always use sealed glass containers for optimal freshness retention.
Impatience with Process: Rushing any stage—heating, coagulating, or draining—compromises final texture and flavor. This recipe rewards patience with superior results that justify the time investment.
Storing Tips for the Recipe
Refrigerator Storage: Store homemade cream cheese in airtight glass containers for up to 10 days in the refrigerator. Glass containers prevent flavor absorption and maintain optimal texture better than plastic alternatives.
Freezing Guidelines: While texture changes slightly, cream cheese can be frozen for up to 3 months. Freeze in small portions using ice cube trays, then transfer to freezer bags for convenient portioning.
Freshness Indicators: Fresh cream cheese should smell mildly tangy and sweet. Any sour or off odors indicate spoilage. Visual signs include mold growth or liquid separation that doesn’t reincorporate with stirring.
Make-Ahead Strategies: Prepare larger batches during weekends when you have time for the draining process. Portion into weekly serving sizes for convenient use throughout busy weekdays.
Whey Preservation: Save the nutritious whey byproduct in separate containers for up to 5 days. Use in bread recipes, smoothies, or as a protein-rich addition to soups and stews.
Proper storage techniques ensure your homemade cream cheese maintains peak quality and safety while maximizing your time investment in the creation process.
Best Amazon Picks :
- Ninja NC301 CREAMi Ice Cream Maker.
- Zulay Kitchen Powerful Milk Frother.
- Hamilton Beach 6-Speed Electric Hand Mixer with Whisk.
Conclusion
This comprehensive cream cheese recipe transforms simple ingredients into luxurious, restaurant-quality results through careful technique and patience. The homemade version offers superior flavor, complete ingredient control, and significant cost savings compared to commercial alternatives while providing a satisfying culinary accomplishment.
FAQs
Q: Can I use ultra-pasteurized milk for this cream cheese recipe? A: Ultra-pasteurized milk doesn’t coagulate properly due to altered protein structures from high-heat processing. Choose regular pasteurized whole milk for best results.
Q: Why is my cream cheese grainy instead of smooth? A: Graininess typically results from overheating milk above 185°F or adding acid too quickly. Maintain precise temperature control and add lemon juice gradually while stirring gently.
Q: What’s the shelf life difference between homemade and commercial cream cheese? A: Homemade cream cheese stays fresh for 7-10 days when properly stored, while commercial versions last 2-3 weeks due to preservatives. However, the superior flavor of fresh cream cheese makes the shorter shelf life worthwhile.
Q: Can I make this recipe without cheesecloth? A: Yes! Use a clean kitchen towel, coffee filters, or even a fine-mesh strainer lined with paper towels. The key is allowing proper drainage while retaining the curds.
Q: Is it normal for the whey to be yellow-green in color? A: Yes, this indicates healthy separation. Clear to pale yellow whey is normal and nutritious. Green-tinged whey often occurs with organic milk and doesn’t indicate spoilage.
Q: Can I flavor the cream cheese during the making process? A: Add flavoring ingredients after the initial draining but before final seasoning. Herbs, spices, and extracts incorporate better when the cheese structure is already established.