Table of Contents
This whipped cream recipe will transform your desserts from ordinary to extraordinary in just minutes. Whether you’re topping them with fresh strawberries, complementing a decadent chocolate cake, or adding the perfect finishing touch to your morning coffee, mastering the art of homemade whipped cream makes all the difference for any home baker. Unlike store-bought alternatives that often contain artificial stabilizers and flavors, this fresh whipped cream recipe delivers the perfect, pure, creamy flavor with just a few simple ingredients.
Ingredient List
Making the perfect whipped cream starts with choosing high-quality ingredients. Here’s everything you’ll need for this effective recipe:
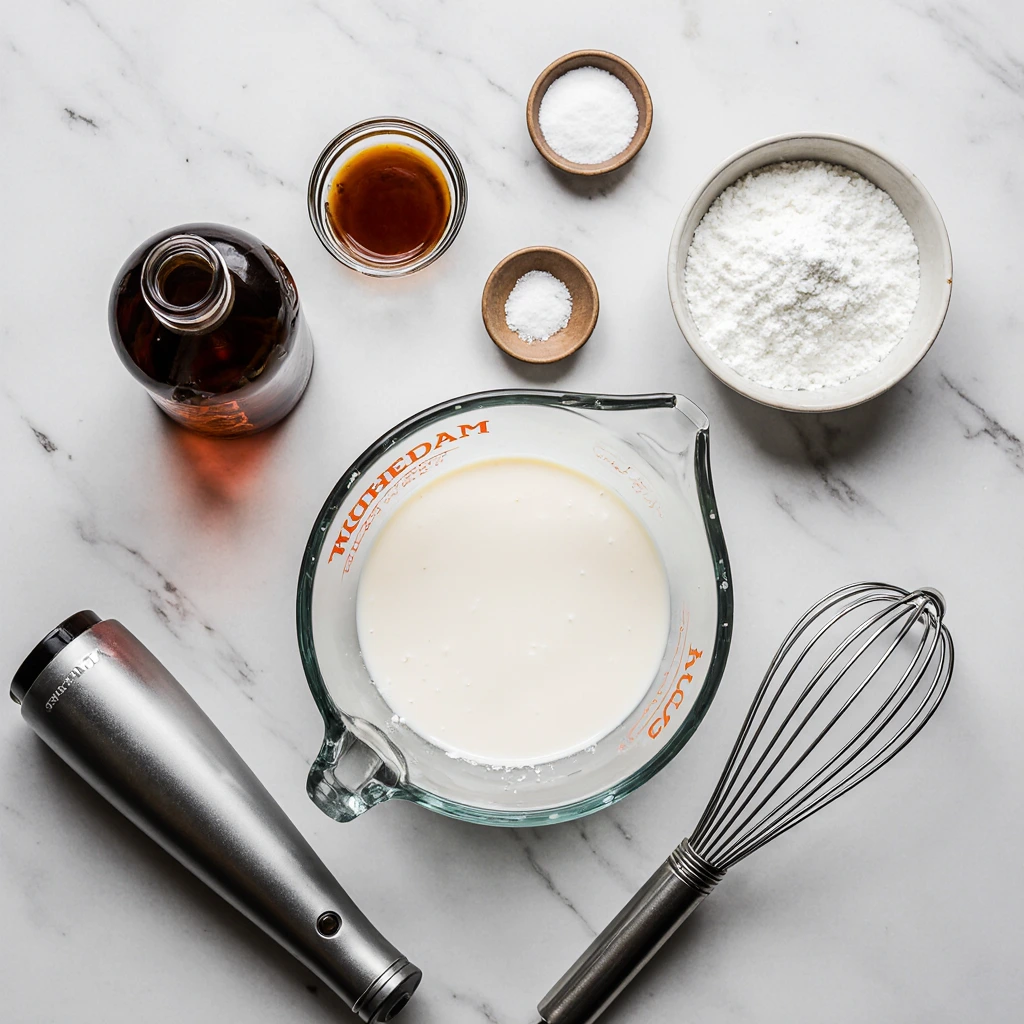
Basic Ingredients:
- 2 cups heavy whipping cream (36-40% fat for best results)
- 2 to 4 tablespoons powdered sugar (for a smoother than granulated cream)
- 1 teaspoon pure vanilla extract (for added depth of flavor)
- Pinch of salt (to balance the sweetness and enhance the cream’s flavor)
Smart Substitutions:
- Substitute powdered sugar for maple syrup or honey for a natural sweetness
- Substitute vanilla extract for almond extract, mint extract, or citrus peel for a variety of flavors
- Use coconut cream (refrigerated overnight) as a dairy-free alternative
- Try mascarpone cheese blended into the cream for extra richness
The secret to a great whipped cream is to use cream with at least 100% fat. 35% – Any less won’t achieve the desired stiff peaks that make your desserts Instagram-worthy.
Timing
Prep Time: 5 minutes
Whipping Time: 3-8 minutes (depending on method)
Total Time: 8-13 minutes
This is approximately 60% faster than traditional hand-whipping methods, making it ideal for last-minute desserts. The beauty of this whipped cream recipe is its efficiency—you can have fresh, homemade whipped cream ready in less time than going to the store to buy the processed version.
Pro Timing Tip: Chill the mixing bowl and whipping attachments in the freezer for 15 minutes before starting. This simple step reduces whipping time by up to 30% and produces firmer peaks.
Step-by-Step Instructions
Step 1: Get Your Tools Ready
Start by chilling the mixing bowl and whisk attachments in the freezer for 15 minutes. This crucial step ensures that the cream whips faster and maintains its consistency. Cold tools are the secret weapon used by professional pastry chefs to achieve consistently perfect results.
Step 2: Pour and Place
Pour the cold heavy cream into a chilled bowl. The cream must be immediately chilled—room-temperature cream won’t give the same thick results. Start with the mixer set at medium-low speed; starting too vigorously can cause the cream to splatter.
Step 3: Start Whipping
Begin mixing at medium speed, then gradually increase the speed to medium-high as the cream begins to thicken. Watch for the transformation—first, you’ll notice the cream becoming frothy, then begin to form soft ribbons that quickly disappear when the beaters are lifted.
Step 4: Add Sweetener and Flavoring
When the cream reaches soft peaks (peaks form but fall immediately), gradually add the powdered sugar, vanilla extract, and salt while continuing to whip. This timing ensures even distribution without disrupting your progress.
Step 5: Achieve the Perfect Consistency
Continue beating until you reach your desired consistency. For a soft peak (ideal for folding into a mousse), stop when peaks form and then fold. For a firm peak (ideal for frosting and icing), beat until the peaks hold their shape. This usually takes an additional two to three minutes.
Step 6: Final Quality Check
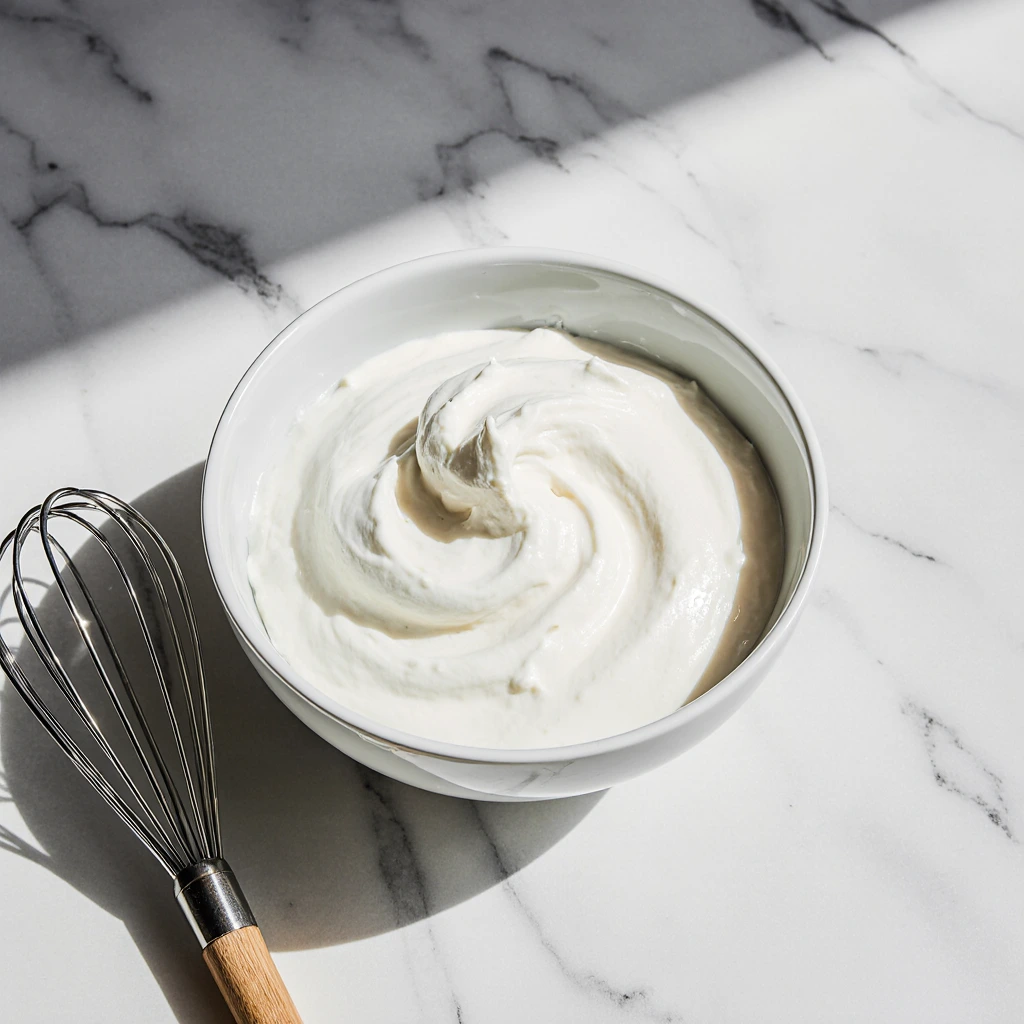
Test your whipped cream by lifting the whisk—perfect whipped cream should hold its shape while maintaining a smooth, glossy appearance. Avoid overbeating, which creates a grainy texture and can lead to separation.
Nutritional Information
Understanding nutritional information helps you make informed decisions about portion sizes and food choices.
Per serving (2 tablespoons makes approximately 16 servings):
- Calories: 52
- Total Fat: 5.5g (8% DV)
- Saturated Fat: 3.4g (17% DV)
- Cholesterol: 20mg (7% DV)
- Sodium: 6mg (0% DV)
- Total Carbohydrate: 1.2g (0% DV)
- Sugars: 1.1g
- Protein: 0.4g
- Calcium: 10mg (1% DV)
Nutritional Information:
- Contains beneficial fat-soluble vitamins (A, D, E, and K).
- Provides conjugated linoleic acid (CLA) when prepared from the cream of grass-fed cows.
- Contains less sugar than most commercial whipped toppings.
- Source of natural dairy proteins that support muscle building.
Healthy Recipe Substitutions
Turn this delicious dessert into a more nutritious option without compromising taste or texture:
Low-Calorie Version:
Mix equal parts heavy cream with Greek yogurt for 40% fewer calories while adding protein and probiotics. This combination gives you a tangy, sweet flavor that complements fruit desserts beautifully.
Natural Sweetener Modifications:
- Stevia Sweetener: Use liquid stevia (start with 1/2 teaspoon) for a calorie-free sweetness. – Date Sweetener: Blend 3-4 pitted dates with 2 tablespoons of warm water, then blend into whipped cream.
- Coconut Sugar: Provides a lower mineral content and glycemic impact than regular sugar.
Protein-Boosted Option:
Add one scoop of vanilla protein powder for a post-workout snack that satisfies your sweet tooth while supporting your fitness goals. This modification increases the protein content by over 20 grams per serving.
Vegan Alternative:
Chill a can of full-fat coconut milk overnight, then scoop out the frozen cream and whip it the same way. Add a tablespoon of coconut oil for extra stability and richness.
Serving Suggestions
Add a twist to your desserts with these creative applications that highlight your homemade whipped cream:
Classic Fridays:
- Top bowls of fresh berries with drops of vanilla-scented whipped cream.
- Layer them between cakes to create elegant trifles and layered cakes.
- Scatter decorative roses over pies, tarts, and cheesecakes.
- Add them to hot chocolate for a decadent winter treat.
Luxurious Applications:
- Make a whipped cream parfait with seasonal fruits and granola.
- Use them as a base for mousses by adding them to melted chocolate or fruit puree.
- Add them to ice cream bases for super-creamy homemade frozen desserts.
- Add them to warm bread puddings or fruit crumbles for a contrasting temperature.
Global Inspirations:
- British Eton Mess: Add them to crushed meringue and strawberries.
- French Chantilly: Add a touch of kirsch or Grand Marnier for a sophisticated touch.
- Italian Zabbaione: Add egg yolk mixture for a rich, custard-like mixture.
Common Mistakes to Avoid
Avoiding these common mistakes ensures professional, consistent results every time:
Over-whipping trap:
The most common mistake is exceeding the ideal peak stage. Over-whipping results in a granular texture and can cause the mixture to separate into butter and buttermilk. Watch carefully when reaching soft peaks—the difference between perfect whipping and over-whipping is surprisingly narrow.
Temperature Issues:
Using warm cream or warm tools hinders good whipping. Research suggests that whipped cream at 2-4°C (35-40°F) increases in volume by 23% compared to cream at room temperature. Always start with cool ingredients and chilled tools.
Sugar Timing Mistakes:
Adding sweetener too early can hinder good whipping, while adding it too late can reduce the volume of carefully prepared cream. The soft peak stage is the ideal time to add additional ingredients.
Speed Mistakes:
Starting at a high speed causes splattering and uneven whipping. Start at a medium speed and gradually increase the speed for optimal control and consistent results.
Storage Mistakes:
Whipped cream begins to lose its consistency within 2-3 hours at room temperature. Always keep it chilled until serving, and avoid over-setting. Store in the refrigerator for more than 24 hours, unless using stabilizers.
Recipe Storage Tips
Proper storage techniques ensure your whipped cream maintains its consistency and flavor:
Short-term storage (2-3 days):
Transfer whipped cream to an airtight container and refrigerate immediately. Place plastic wrap directly over the surface to prevent a skin from forming. Gently re-whip before serving if any slight separation occurs.
Freezing Instructions:
Place whipped cream in rosettes on parchment-lined baking sheets, then freeze until firm. Transfer frozen blocks to freezer bags for up to 3 months. Use them straight from the freezer for topping—they’ll thaw completely in 10-15 minutes.
Stabilization Techniques:
For longer-lasting whipped cream, add 1 teaspoon of unflavored gelatin (dissolved in 1 tablespoon of warm water) while whipping. This pro trick prolongs the freshness of your whipped cream for up to 5 days while maintaining its perfect texture.
Make-Ahead Strategy:
Prepare your whipped cream 8 hours in advance by lightly whisking it, then whisk it gently just before serving. This prevents over-setting and ensures optimal freshness.
Conclusion
This versatile whipped cream recipe consistently delivers perfect results with minimal effort and maximum impact. Master these simple techniques to create smooth, creamy textures that transform ordinary desserts into extraordinary experiences, while avoiding common mistakes that can lead to disappointing results.
Ready to Make Perfect? Try this recipe today and share your creations in the comments section below! Subscribe to our blog for more professional baking tips, seasonal recipe variations, and innovative techniques that will enhance your home cooking skills. Your desserts (and your guests) will thank you!
Best Amazon Picks :
- Ninja NC301 CREAMi Ice Cream Maker.
- Zulay Kitchen Powerful Milk Frother.
- Hamilton Beach 6-Speed Electric Hand Mixer with Whisk.
FAQs
Q: Can I make whipped cream without an electric mixer?
A: Absolutely! Whip by hand in a chilled bowl for 8-12 minutes. The key is constant, vigorous circular motions. A rotary whisk is best for incorporating the most air.
Q: How do I treat excess whipped cream?
A: Add 1-2 tablespoons of unwhipped heavy cream and mix gently to restore a smooth consistency. Work slowly to avoid overmixing.
Q: Why isn’t my cream whipping well?
A: Check the fat content of the cream—it needs to be at least 35% fat. Make sure everything is cold, and make sure the cream isn’t over-pasteurized, which can impair whipping.
Q: Can I add food coloring to my whipped cream?
A: Yes! Add gel food coloring during the soft peak stage to distribute it evenly. Liquid coloring can thin the cream, so use sparingly.
Q: How long does homemade whipped cream last?
A: Fresh whipped cream keeps for 2-3 days in the refrigerator. For best results, consume it within 24 hours for optimal texture and flavor.
Q: What’s the difference between whipped cream and whipped cream?
A: Whipped cream uses real dairy cream, while commercial toppings often contain vegetable oils, stabilizers, and artificial ingredients. Homemade versions offer superior flavor and nutrition.