Table of Contents
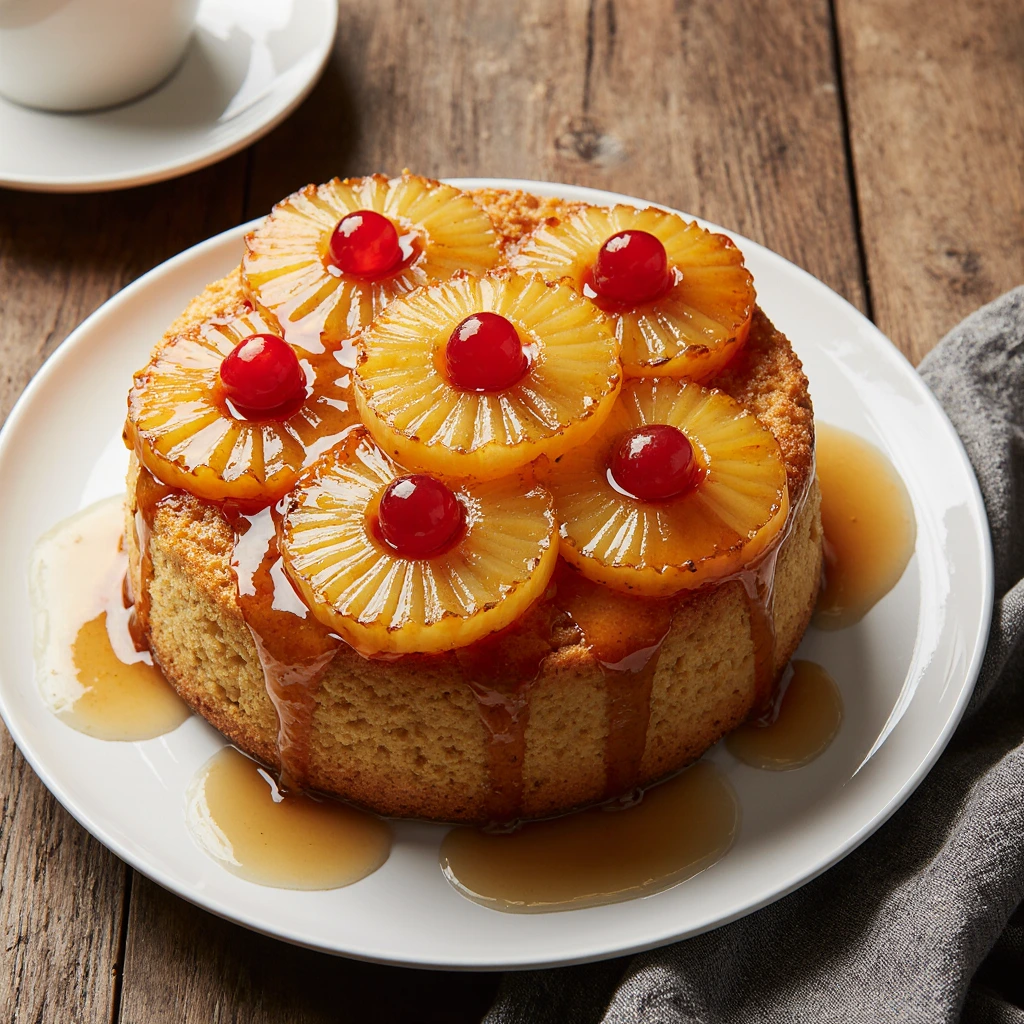
If you’re craving a dessert that perfectly balances caramelized sweetness with tropical flavor, this pineapple upside down cake is exactly what you need. This classic American dessert transforms simple ingredients into something extraordinary, with golden pineapple rings swimming in buttery caramel atop a tender, moist cake. Whether you’re baking for a family gathering, potluck dinner, or just treating yourself on a weekend afternoon, this timeless recipe delivers impressive results every single time. The beauty of this dessert lies in its stunning presentation—when you flip it over, those gorgeous caramelized pineapples create an instant wow factor that makes it look like you spent hours in the kitchen, even though it’s surprisingly straightforward to make.
Ingredients List
For the Topping:
- 1/2 cup (1 stick) unsalted butter – Creates that signature caramelized base (substitute: coconut oil for dairy-free version)
- 3/4 cup packed light brown sugar – Provides deep molasses notes and helps caramelize the fruit
- 1 can (20 oz) pineapple slices in juice, drained – Reserve about 2 tablespoons of juice for the cake batter
- 10-12 maraschino cherries – Those iconic red centers add color and sweetness (substitute: fresh cherries or dried cranberries)
For the Cake:
- 1 1/2 cups all-purpose flour – The foundation of your tender crumb (substitute: gluten-free 1:1 baking flour)
- 1 1/2 teaspoons baking powder – Provides lift and airiness
- 1/4 teaspoon salt – Brings out the sweetness and balances the overall taste
- 1/2 cup (1 stick) unsalted butter, softened – Adds richness and moisture
- 3/4 cup granulated sugar – Balances the caramelized topping perfectly
- 2 large eggs, room temperature – Binds everything together and creates structure
- 1 teaspoon pure vanilla extract – Adds aromatic depth
- 1/2 cup whole milk – Creates a moist, tender texture (substitute: almond milk or oat milk)
- 2 tablespoons reserved pineapple juice – Amplifies that tropical essence
Timing
Preparation Time: 20 minutes
Baking Time: 45-50 minutes
Cooling Time: 15 minutes
Total Time: 80-85 minutes
This recipe requires approximately 30% less active work time compared to layered cakes, making it an excellent choice for busy bakers who still want homemade elegance. The single-pan method streamlines your process while the oven does most of the heavy lifting.
Step-by-Step Instructions
Step 1: Prepare Your Pan and Oven
Preheat your oven to 350°F (175°C). Place your oven rack in the middle position to ensure the cake bakes evenly from all sides. Choose a 9-inch round cake pan or 10-inch cast-iron skillet—both work wonderfully, though cast iron provides slightly better caramelization. Avoid using a springform pan as the butter-sugar mixture can leak through the bottom.
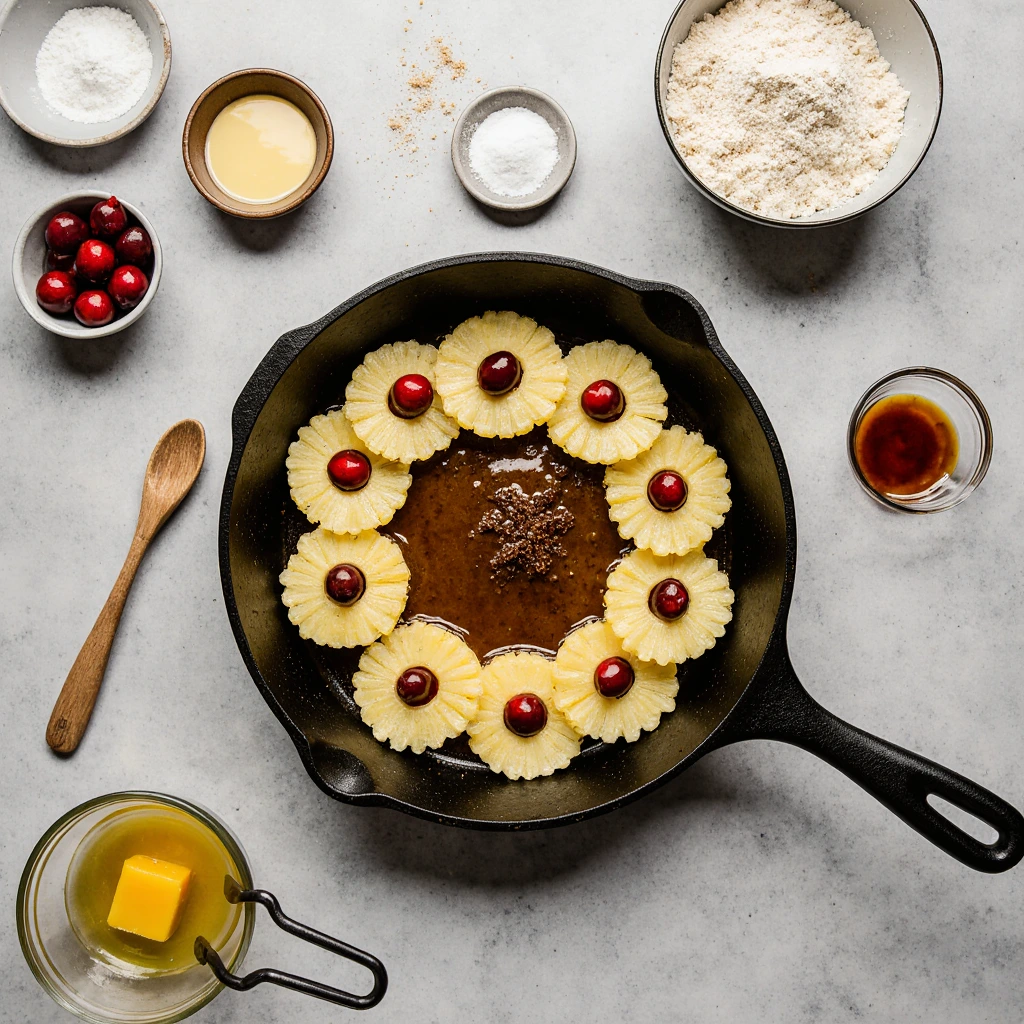
Step 2: Create the Caramelized Base
Melt the 1/2 cup butter directly in your cake pan over medium-low heat on the stovetop (or microwave it and pour into the pan). Sprinkle the brown sugar evenly across the melted butter, creating a uniform layer that will transform into glossy caramel. Don’t stir—just let it sit and work its magic. Arrange your pineapple slices in a beautiful pattern, starting with one in the center and surrounding it with others. Tuck a maraschino cherry into the center of each pineapple ring. This artistic arrangement becomes your cake’s crown jewel.
Step 3: Mix the Dry Ingredients
In a medium bowl, whisk together flour, baking powder, and salt until completely combined. This ensures even distribution of leavening agents throughout your batter, preventing uneven rising or bitter pockets of baking powder. Set this mixture aside while you work on the wet ingredients.
Step 4: Cream Butter and Sugar
Using an electric mixer on medium-high speed, beat the softened butter and granulated sugar together for 3-4 minutes until the mixture becomes pale, fluffy, and almost doubles in volume. This creaming process incorporates air bubbles that help create a lighter cake texture. The mixture should look like whipped frosting when ready.
Step 5: Incorporate Eggs and Vanilla
Add eggs one at a time, beating well after each addition until fully incorporated. Pour in the vanilla extract and mix until the batter looks smooth and cohesive. Don’t worry if it looks slightly curdled at this point—that’s normal and will smooth out when you add the flour.
Step 6: Combine Wet and Dry Ingredients
With your mixer on low speed, alternate adding the flour mixture and the milk mixture (milk + pineapple juice combined) in three additions, beginning and ending with the flour. Mix only until just combined after each addition—overmixing develops gluten and creates a tough, dense cake. A few small lumps are perfectly fine.
Step 7: Assemble and Bake
Carefully pour the cake batter over your arranged pineapples and cherries, spreading it gently to the edges with a spatula. The batter should completely cover the fruit. Bake for 45-50 minutes, checking for doneness by inserting a toothpick into the cake’s center—it should emerge clean with only a few damp crumbs attached. The top should be golden brown and spring back when lightly touched.
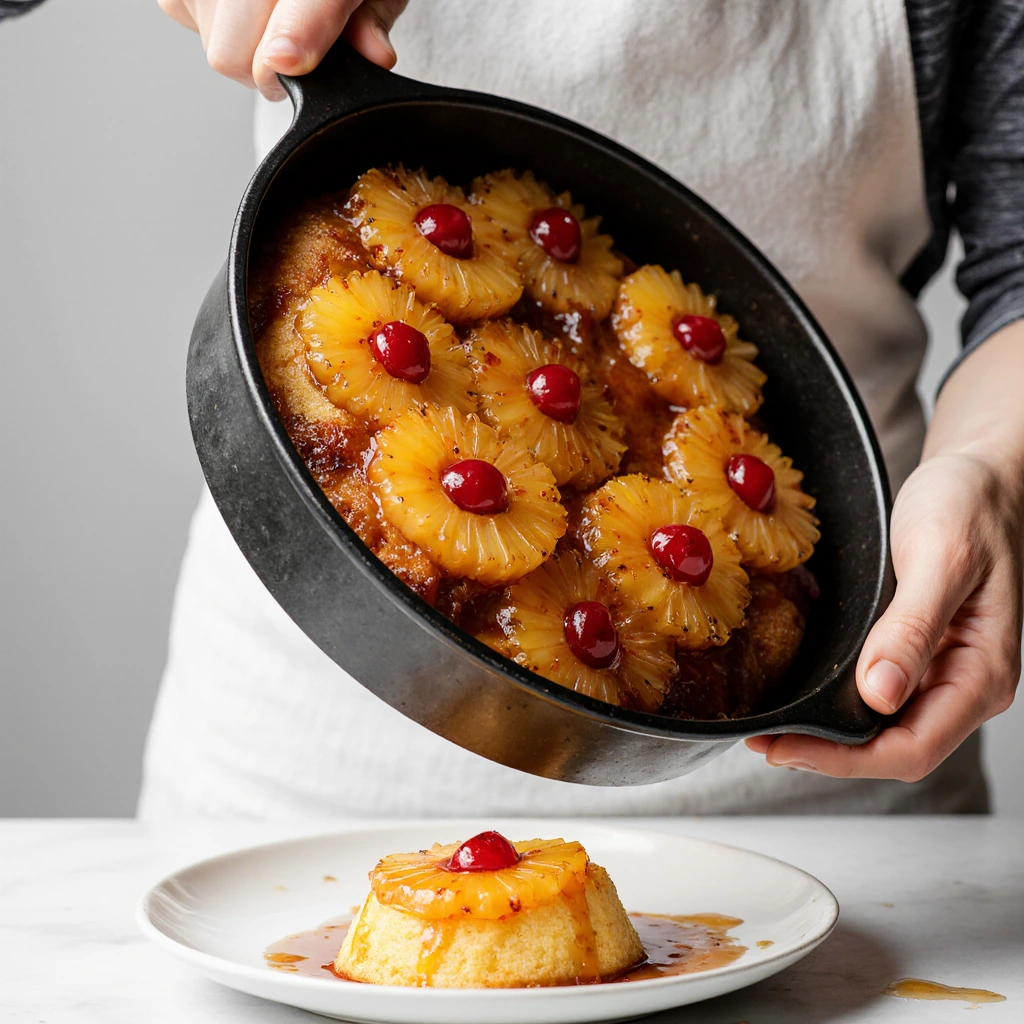
Step 8: Cool and Invert
This step requires patience but is crucial: Let the cake cool in the pan for exactly 15 minutes—no more, no less. Too short and it falls apart; too long and the caramel hardens, cementing the fruit to the pan. Run a knife around the edges to loosen. Place your serving plate face-down over the pan, then quickly but confidently flip everything over. Lift the pan slowly, allowing gravity to release that gorgeous caramelized top. If any fruit sticks, simply place it back where it belongs—no one will ever know!
Nutritional Information
Per Slice (assuming 10 servings):
- Calories: 385
- Total Fat: 16g (25% DV)
- Saturated Fat: 10g (50% DV)
- Cholesterol: 75mg (25% DV)
- Sodium: 180mg (8% DV)
- Total Carbohydrates: 58g (21% DV)
- Dietary Fiber: 1g (4% DV)
- Sugars: 42g
- Protein: 4g (8% DV)
- Vitamin C: 8% DV
- Calcium: 6% DV
- Iron: 8% DV
Key Nutritional Insights: While this pineapple upside down cake is definitely an indulgent treat, it provides vitamin C from the pineapple and small amounts of calcium from the dairy. The recipe contains approximately 15% fewer calories than traditional butter cakes due to its single-layer structure. Pineapple also contains bromelain, an enzyme with anti-inflammatory properties.
Healthier Alternatives for the Recipe
Reduce Sugar Impact:
- Replace half the granulated sugar with unsweetened applesauce (reduces calories by approximately 12%)
- Use coconut sugar instead of brown sugar for a lower glycemic index option
Lower Fat Content:
- Substitute Greek yogurt for half the butter in the cake batter
- Use light coconut milk instead of whole milk (saves 30 calories per serving)
Increase Nutritional Value:
- Add 1/4 cup of finely ground almond flour to replace some all-purpose flour for added protein and healthy fats
- Incorporate whole wheat pastry flour for half the all-purpose flour to boost fiber content
Allergy-Friendly Modifications:
- Use flax eggs (1 tablespoon ground flaxseed + 3 tablespoons water per egg) for an egg-free version
- Replace butter with vegan butter or coconut oil throughout for a fully plant-based dessert
- Opt for gluten-free flour blend to accommodate gluten sensitivities
Natural Sweetener Options:
- Drizzle with honey or maple syrup instead of additional sugar at serving time
- Use fresh pineapple for more authentic fruit flavor and slightly less sugar
Serving Suggestions
Transform your pineapple upside down cake into an unforgettable experience with these creative serving ideas:
Classic Comfort: Serve warm slices with a generous dollop of freshly whipped cream or a scoop of vanilla bean ice cream that melts into the caramel sauce. The temperature contrast creates an irresistible sensory experience.
Tropical Twist: Top with toasted coconut flakes and a drizzle of rum sauce for an adults-only Caribbean-inspired dessert that transports you to island paradise.
Brunch Brilliance: This cake makes an exceptional brunch centerpiece. Pair it with strong coffee or mimosas, and watch it disappear faster than traditional coffee cake.
Individual Portions: Bake in a muffin tin for adorable mini upside-down cakes—perfect for parties, portion control, or lunch boxes. Reduce baking time to 20-25 minutes.
Plating for Wow Factor: Place each slice on a white plate, add a mint sprig for color, dust with powdered sugar, and drizzle any extra caramel from the pan around the plate’s edge.
Seasonal Variations: During holidays, add a splash of spiced rum to the batter or garnish with candied ginger for festive flair.
Common Mistakes to Avoid
Mistake 1: Using Cold Ingredients
Cold eggs and butter don’t emulsify properly, resulting in a dense, uneven cake. Solution: Set your eggs and butter out 30-60 minutes before baking, or quick-temper eggs by placing them in warm water for 5 minutes.
Mistake 2: Overmixing the Batter
Overmixing develops gluten strands, creating a tough, rubbery texture. Solution: Mix only until ingredients are just combined—you should still see a few small lumps in the final batter.
Mistake 3: Skipping the Cooling Period
Flipping too soon causes the cake to break apart; waiting too long cements the fruit to the pan. Solution: Set a timer for exactly 15 minutes and prepare your serving plate in advance.
Mistake 4: Using Pineapple Packed in Syrup
Heavy syrup makes the topping overly sweet and can create a soggy cake bottom. Solution: Always choose pineapple packed in juice and drain thoroughly, even patting rings dry with paper towels.
Mistake 5: Incorrect Pan Size
Using the wrong size pan throws off baking time and texture ratios. Solution: Stick to a 9-inch round or 10-inch skillet. If you only have a different size, adjust baking time and watch closely.
Mistake 6: Opening the Oven Door Too Early
Temperature fluctuations cause cakes to sink in the middle. Solution: Don’t open the oven door for at least 40 minutes—use the oven light to check progress instead.
Storing Tips for the Recipe
Room Temperature Storage:
Store your pineapple upside down cake covered with plastic wrap or in an airtight container at room temperature for up to 2 days. The caramel topping stays beautifully moist and gooey during this period, actually improving in flavor as the cake absorbs some of the caramel.
Refrigeration:
For longer storage, refrigerate the covered cake for up to 5 days. The cold temperature firms up the caramel slightly, but letting slices come to room temperature for 20 minutes before serving restores that perfect texture. You can also gently warm individual slices in the microwave for 15-20 seconds.
Freezing Instructions:
Wrap the completely cooled cake tightly in plastic wrap, then aluminum foil, and freeze for up to 3 months. Thaw overnight in the refrigerator, then bring to room temperature before serving. Individual slices can be frozen separately for convenient single servings—just place parchment paper between slices to prevent sticking.
Make-Ahead Strategy:
You can prepare the topping layer in your pan and refrigerate it overnight, then mix and add the cake batter fresh the next day. This technique actually helps the flavors develop even more deeply while spreading out your workload.
Preventing Sogginess:
If your cake becomes too moist from the caramel, briefly warm slices in a 300°F oven for 5-7 minutes to restore some texture before serving.
Best Amazon Picks :
- “9.5” Nonstick Fluted Cake Pan, Carbon Steel.
- Amazon Basics 6-Piece Nonstick Bakeware Set.
- Sweejar Baking Pans Set.
Conclusion
This pineapple upside down cake recipe delivers everything you want in a classic dessert: stunning visual appeal, incredible flavor, and straightforward preparation that welcomes bakers of all skill levels. With its caramelized pineapple topping and tender crumb, this cake transforms ordinary ingredients into something truly special for any occasion.
Ready to create your own masterpiece? Try this recipe today and share your beautiful results in the comments below! Did you add your own creative twist? We’d love to hear about it in our review section. Don’t forget to subscribe for more delicious recipes, baking tips, and kitchen inspiration delivered straight to your inbox every week.
FAQs
Q: Can I use fresh pineapple instead of canned?
A: Absolutely! Fresh pineapple works beautifully and provides even more vibrant flavor. Cut 1/2-inch thick slices and core them to create rings. Just note that fresh pineapple releases more moisture, so you might need to bake an additional 5-10 minutes. Pat the slices very dry before arranging them in the pan.
Q: Why did my cake stick to the pan?
A: This typically happens when the cake cools too long before inverting, causing the caramel to harden. Always flip after exactly 15 minutes while the caramel is still soft and pliable. Also ensure you’ve buttered the pan sides (not just the bottom) before adding the topping.
Q: Can I make this cake in advance?
A: Yes! This cake actually tastes even better the next day as the flavors meld together. Bake it up to 2 days ahead, store covered at room temperature, and it’ll be perfect for your event. Many bakers prefer making it a day early for this reason.
Q: What other fruits can I use instead of pineapple?
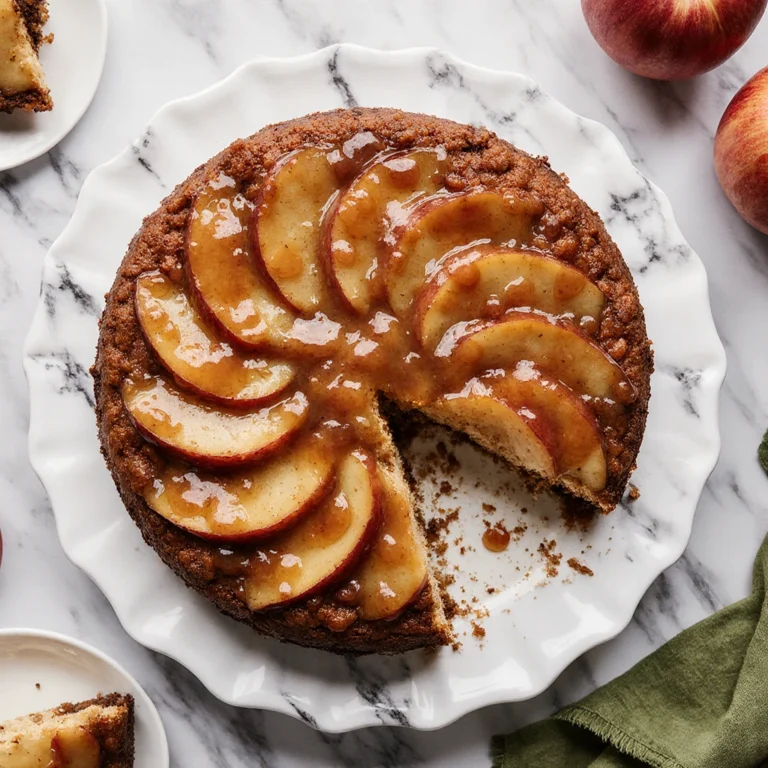
A: The technique works wonderfully with peaches, pears, apples, or plums. Arrange sliced fruit in overlapping circles for an elegant presentation. Berries aren’t recommended as they release too much liquid and can make the cake soggy.
Q: My cake top is browning too quickly. What should I do?
A: If the top browns before the center is cooked through, tent aluminum foil loosely over the pan during the last 15-20 minutes of baking. This protects the surface while allowing the interior to finish cooking properly.
Q: Can I double this recipe?
A: While you can double the ingredient quantities, it’s better to make two separate cakes rather than one large one. The structure and baking time for a doubled version become unpredictable, and you risk an undercooked center with overcooked edges.
Q: Is there a way to reduce the sweetness?
A: Reduce the brown sugar in the topping to 1/2 cup and use unsweetened pineapple packed in water rather than juice. You can also cut the granulated sugar in the cake to 2/3 cup without significantly affecting texture.
Q: Why is my cake dense instead of fluffy?
A: Dense cakes usually result from overmixing the batter, using cold ingredients, or incorrect measurements. Make sure you’re measuring flour correctly (spoon into cup and level off), cream the butter and sugar thoroughly, and mix the final batter only until just combined.