Table of Contents
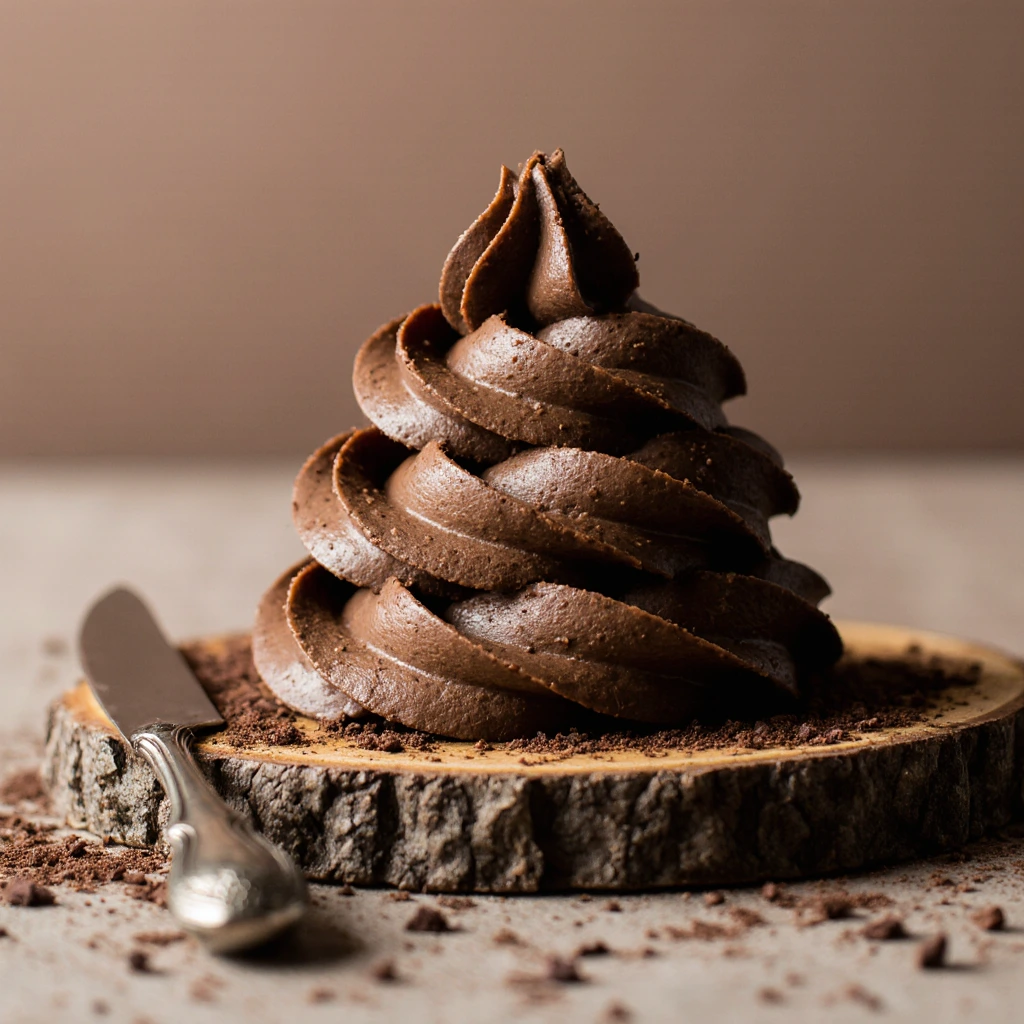
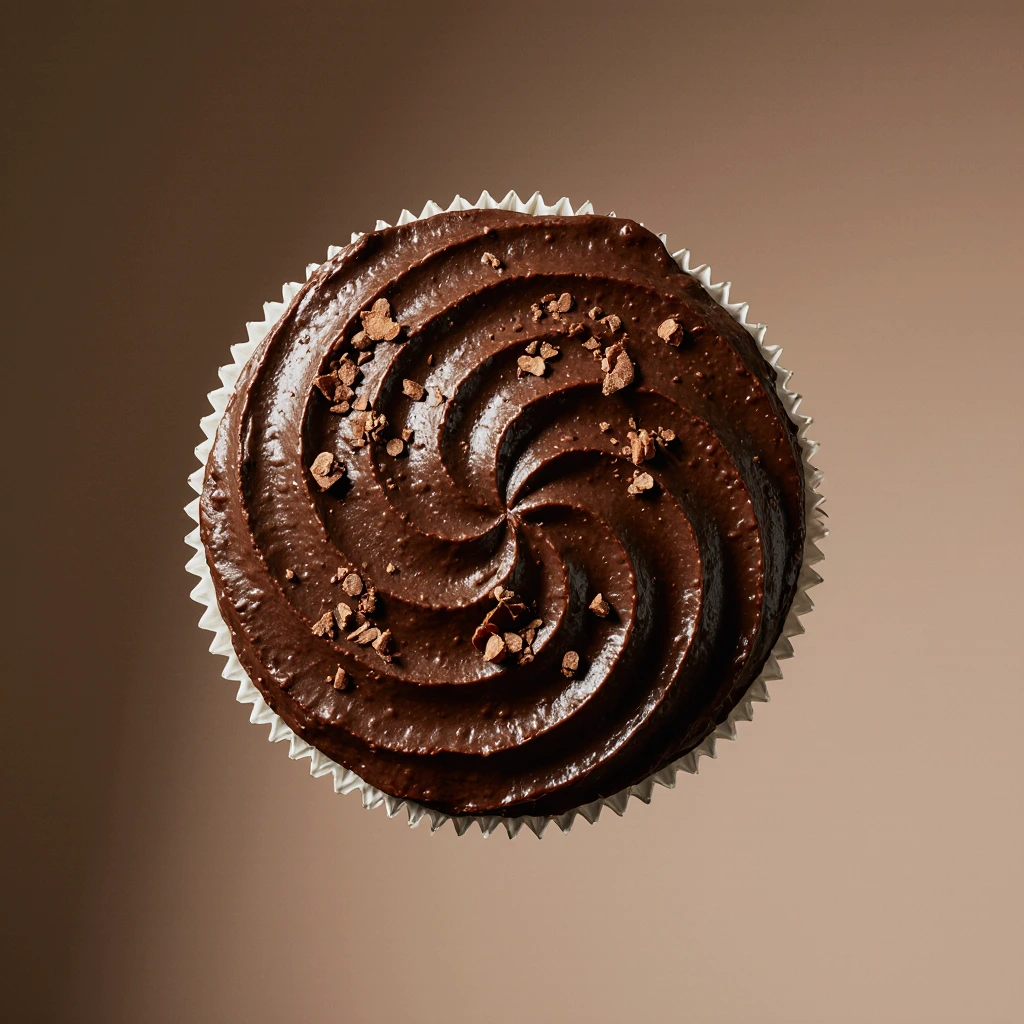
Making the perfect chocolate frosting recipe doesn’t have to be complicated or time-consuming. Whether you’re decorating birthday cakes, cupcakes, or simply want to enhance your homemade desserts, this chocolate buttercream frosting will be your go-to recipe. With simple ingredients and the right technique, you’ll master this luxurious, smooth, melt-in-the-mouth frosting.
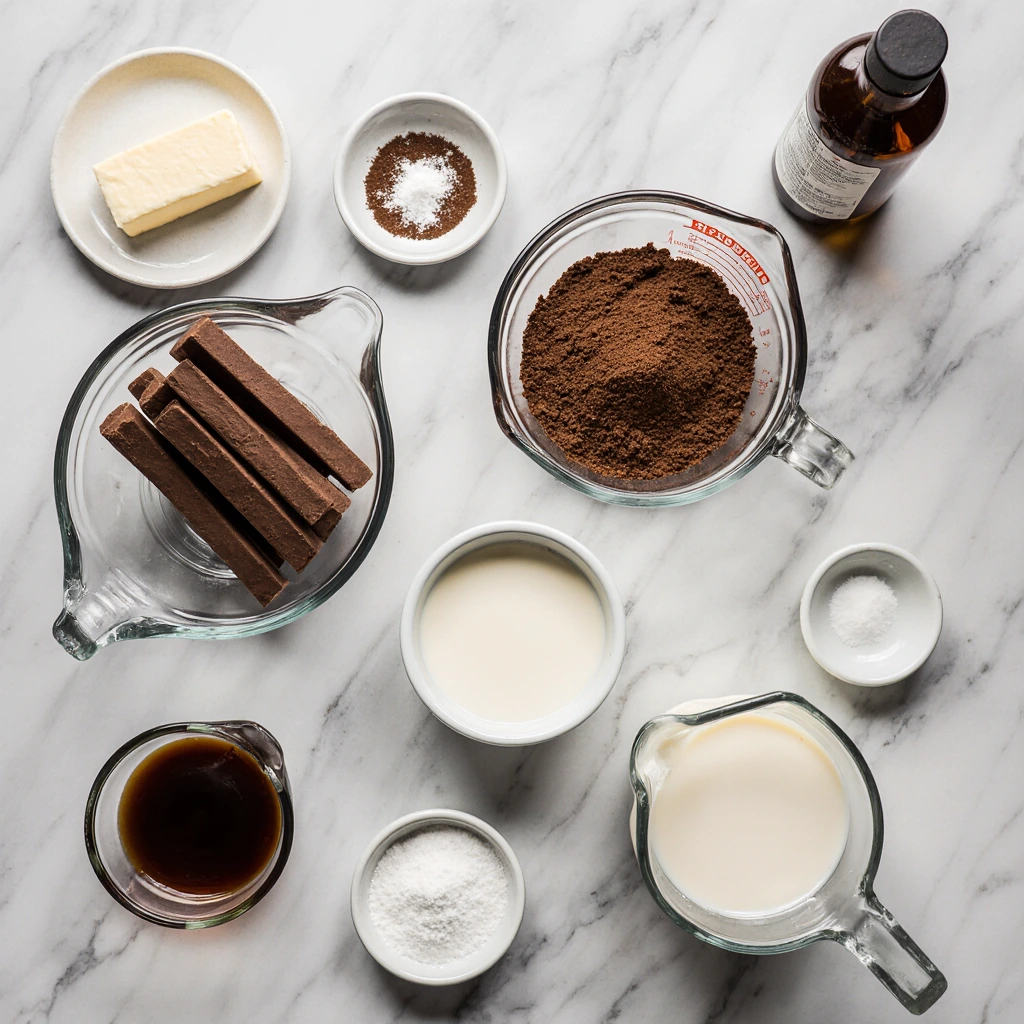
Ingredients List
For the Perfect Chocolate Frosting:
- 1 cup (2 sticks) unsalted butter, softened to room temperature
- 3/4 cup unsweetened cocoa powder, sifted (Dutch-processed or natural)
- 3-4 cups powdered sugar, sifted
- 1/2 cup heavy cream or whole milk
- 2 teaspoons pure vanilla extract
- 1/4 teaspoon salt (for chocolate flavor)
- Optional: 2 tablespoons melted chocolate for extra richness
Smart Substitutions:
- Butter Substitutes: Butter or coconut oil (solid, not melted)
- Dairy-Free Option: Use coconut cream instead of heavy cream
- Sugar Substitutes: Erythritol powder for a lower-sugar version
- Flavor Variations: Add 1 tablespoon of instant coffee for a mocha cream
- Texture Enhancer: Add 2 tablespoons of cream cheese for a tangy flavor
Timing
This chocolate cream recipe is extremely effective, requiring only 15 minutes of preparation and no cooking required. Here’s the full recipe:
- Preparation time: 10 minutes (measure and sift ingredients)
- Mixing time: 5 minutes (for perfect consistency)
- Total time: 15 minutes
- Cooling time: 30 minutes (optional, for a firmer consistency)
Compared to traditional cooked buttercream, which can take 45 to 60 minutes, this recipe saves 75% of the time while delivering amazing flavor and texture. The beauty of this American buttercream frosting lies in its simplicity and ease of use.
Step-by-Step Instructions
Step 1: Prepare Your Ingredients
Start by warming the butter to room temperature—this is essential for achieving a silky-smooth texture. Well-softened butter should be slightly soft when pressed, but not melted. Sift the cocoa powder and powdered sugar through a fine sieve to remove any lumps that might create a grainy texture.
Pro tip: If you forget to soften the butter, cut it into small cubes and let it sit for 15 minutes, or grate it to soften it faster.
Step 2: Cream the Butter Foundation
In a large mixing bowl, beat the softened butter with an electric mixer on medium speed for 2 to 3 minutes until light and fluffy. This aeration is essential for the cream’s characteristic smooth texture. The butter should approximately double in volume and appear light in color.
Step 3: Incorporate the Cocoa
Gradually add the sifted cocoa powder to the whipped butter, mixing on low speed at first to prevent cocoa clouds from forming. After mixing, increase the speed to medium and beat for another minute. The mixture will look dry and crumbly at this point; this is completely normal.
Step 4: Alternate Sugar and Liquid
Add the powdered sugar in three batches, alternating with the heavy cream. Start with 1 cup of sugar, then add half the cream, then more sugar, then the remaining cream, finishing with the last cup of sugar. This technique prevents the icing from becoming too thick or too thin.
Step 5: Add Flavor Enhancers
Add the vanilla extract and salt, then beat on high speed for 2 to 3 minutes until the cream is light, fluffy, and stiff. If desired, add melted chocolate for a richer flavor.
Step 6: Achieve Perfect Consistency
Evaluate the consistency of the icing—it should be easy to spread, but its peaks should still be visible when lifted with a spoon. If it’s too thick, add the icing one tablespoon at a time. If it’s too thin, gradually add more powdered sugar.
Nutritional Information
Per 2-tablespoon serving (makes about 16 servings):
- Calories: 185
- Total Fat: 8g (12% DV)
- Saturated Fat: 5g (25% DV)
- Cholesterol: 20mg (7% DV)
- Sodium: 45mg (2% DV)
- Total Carbohydrate: 32g (12% DV)
- Dietary Fiber: 2g (7% DV)
- Sugars: 29g
- Protein: 2g
- Vitamin A: 6% DV
- Calcium: 2% DV
- Iron: 4% DV
This chocolate frosting provides a moderate amount of antioxidants derived from cocoa powder, including flavonoids that promote heart health. This recipe yields enough frosting for a standard two-layer cake or 24 cupcakes.
Healthier Alternatives for the Recipe
Transform this decadent chocolate spread into a more nutritious option without sacrificing flavor:
Reduced-sugar version: Replace half of the powdered sugar with an erythritol blend or powdered stevia, reducing calories by about 35% while maintaining the sweetness.
Protein-boosted alternative: Add 2 tablespoons of chocolate protein powder and reduce the cocoa powder to 1/2 cup. This increases the protein content by 12 grams per serving.
Avocado chocolate spread: Replace half of the butter with ripe avocado for more healthy fats and fiber. This creates a softer texture while reducing the saturated fat content.
Greek yogurt hybrid: Replace 1/4 cup of butter with thick Greek yogurt for more protein and probiotics. This creates a lighter texture with tangy flavors.
Coconut oil version: Use solid coconut oil instead of butter for a dairy-free option rich in medium-chain triglycerides.
Serving Suggestions
These versatile chocolate toppings elevate many desserts to new levels:
Classic Combinations: Spread generously between layers of vanilla cake, create rosettes on chocolate cupcakes, or use as a topping with fresh strawberries and graham crackers.
Creative Applications: Fill macarons, sandwich them between chocolate chip cookies, or dip them into puffed cream for elegant profiteroles.
Serving Ideas: Use different topping tips for a variety of textures—star tips for rosettes, round tips for dots, or leaf tips for edging.
Flavor Combinations: Pair with salted caramel cake, peanut butter cookies, or mint-flavored candies for a full flavor profile.
Serving Temperature: Serve at room temperature for easy spreading, or refrigerate for 30 minutes for a firmer texture.
Common Mistakes to Avoid
Mistake 1: Using cold butter. Cold butter produces a lumpy icing that’s difficult to mix. Always ensure your butter is at room temperature (20-22°C) for perfect icing.
Mistake 2: Skipping the sifting step. Clumped cocoa powder and powdered sugar produce a granular texture. Sifting takes two minutes but ensures silky-smooth results.
Mistake 3: Over-beating the cream. Over-mixing can cause the butter to break down, giving it a lumpy appearance. Mix until smooth and fluffy.
Mistake 4: Incorrect liquid ratios. Too much liquid creates a runny icing; too little creates a stiff texture that’s difficult to spread. Add liquids gradually.
Mistake 5: Extreme temperatures. Creams prepared in very hot kitchens can become too soft, while cold environments make it difficult to achieve the right consistency.
Storing Tips for the Recipe
Instant Storage: This chocolate icing can be stored at room temperature for up to 4 hours, making it ideal for decorating sessions and parties.
Refrigerated Storage: Store covered in the refrigerator for up to 1 week. Before using, allow to cool to room temperature and whip again for 2-3 minutes to restore its consistency.
Freezer Storage: Freeze in airtight containers for up to 3 months. Thaw in the refrigerator for 12-24 hours, then whip again to restore its creamy consistency.
Prepare Ahead: Prepare the icing up to 2 days in advance and store in the refrigerator. This enhances the flavor of the icing as the ingredients blend.
Piercing Storage: Fill piping bags and refrigerate for up to 3 days. Allow to cool to room temperature before using for easier decorating.
Conclusion
This chocolate frosting recipe delivers bakery-quality results with minimal effort and unparalleled flavor. The combination of rich cocoa, creamy butter, and perfect sweetness creates an irresistible frosting that transforms ordinary desserts into an indulgent treat.
Ready to make a heavenly frosting? Try this recipe today and share your delicious results in the comments section below! Subscribe to our blog for more tried-and-true recipes and baking tips that guarantee success.
Best Amazon Picks :
- Zulay Kitchen Powerful Milk Frother.
- Sweejar Baking Pans Set.
- Hamilton Beach 6-Speed Electric Hand Mixer with Whisk.
FAQs
Q: Can I prepare this frosting in advance? A: Absolutely! This frosting improves when prepared a day or two in advance. Store covered in the refrigerator and whip again before use to restore its fluffy texture.
Q: Why is my frosting so thin/thick? A: The consistency of the frosting is affected by the temperature of your kitchen and how you measure the ingredients. When it’s too runny, gradually add more powdered sugar until you reach the right consistency. For extra thick frosting, gradually add the frosting one tablespoon at a time while mixing.
Q: Can I use this frosting to decorate a cake? A: Yes! This frosting holds its shape beautifully for decoration. For a firmer frosting, refrigerate the frosting for 30 minutes before frosting, and place the frosting in the refrigerator until it sets.
Q: What’s the difference between Dutch-processed cocoa powder and natural cocoa powder? A: Dutch cocoa has a softer, smoother flavor and a darker color, while natural cocoa powder is more acidic and lighter. Both are suitable for this recipe.
Q: How do I fix broken or lumpy frosting? A: If the frosting seems lumpy, it’s usually due to temperature differences. Try warming the bowl slightly with your hands while mixing, or add a tablespoon or two of softened butter and continue mixing.
Q: Can I tint this frosting with chocolate? A: While you can add gel food coloring, it may cloud the chocolate. For brighter colors, consider starting with a vanilla buttercream base.
Q: How much frosting does this recipe make? A: This recipe yields about 3 cups of frosting, which is enough for an 8-inch two-layer cake, 24 cupcakes, or a generous topping for a 9 x 13-inch cake.