Table of Contents
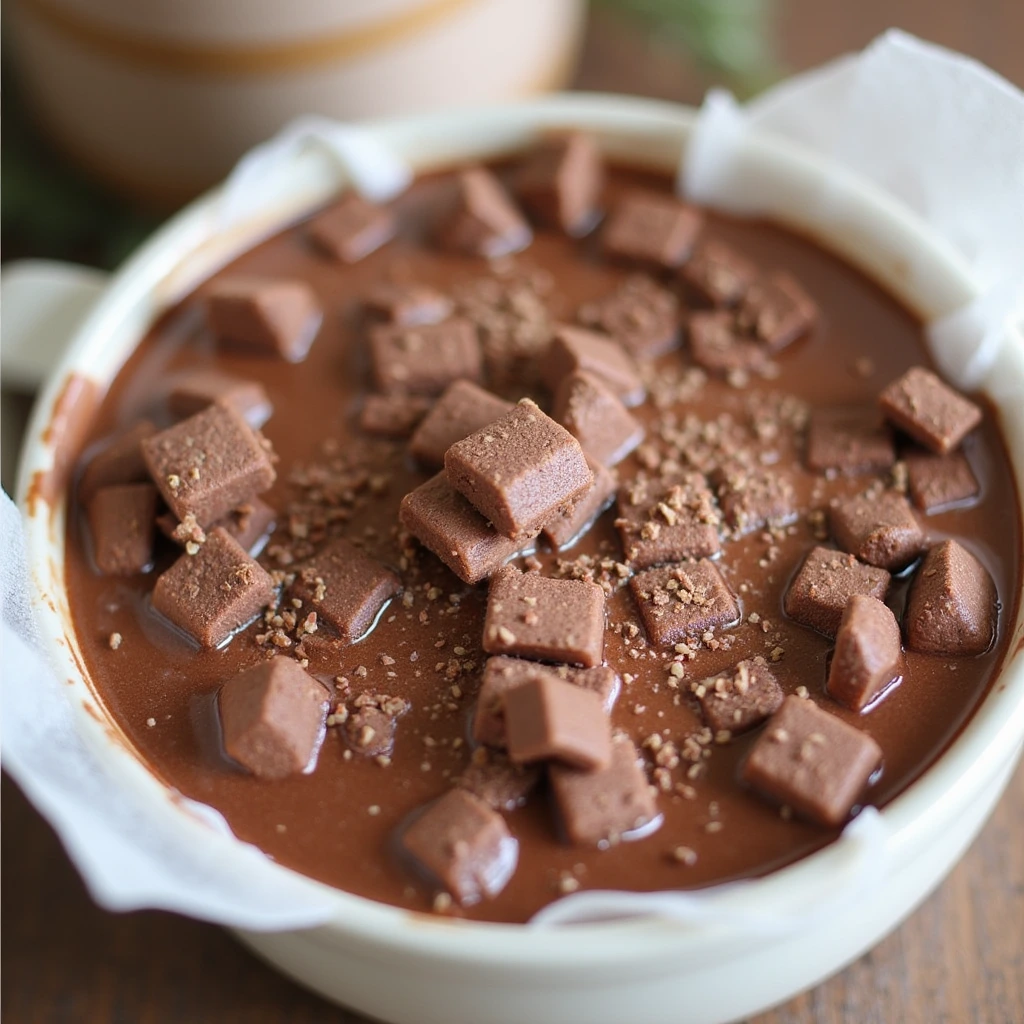
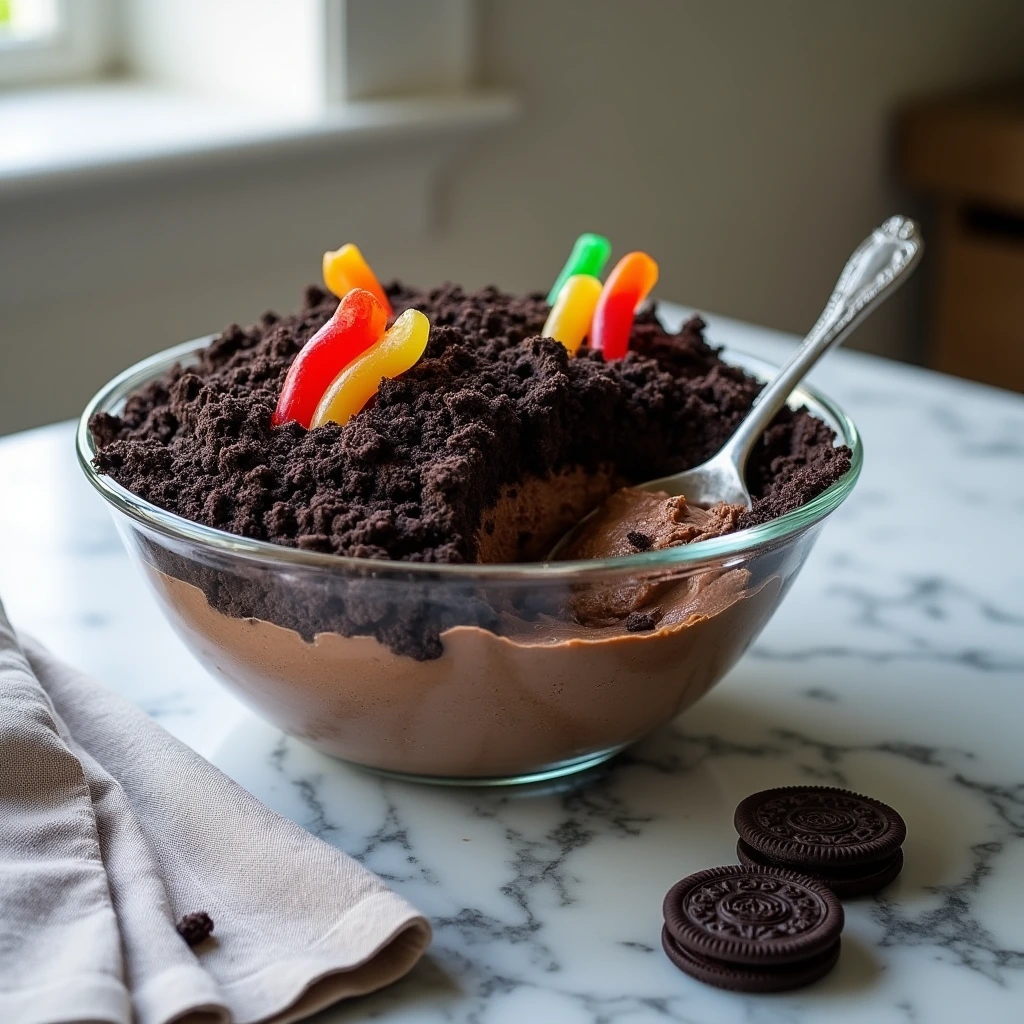
Looking for a show-stopping dirt cake recipe that’s guaranteed to delight guests of all ages? This classic dirt cake recipe combines creamy pudding, crushed cookies, and sweet cream cheese to create a dessert that’s visually fun and irresistibly delicious.

Ingredients List
To create this delightful dirt cake recipe, gather these simple ingredients that combine to create magic:
For the “Dirt”:
- 1 package (14.3 oz) regular Oreo cookies (approximately 36 cookies)
- 2 tablespoons unsalted butter, melted (optional for richer flavor)
For the Creamy Filling:
- 8 oz cream cheese, softened to room temperature
- 1/4 cup (1/2 stick) unsalted butter, softened
- 1 cup powdered sugar
- 2 packages (3.9 oz each) instant chocolate pudding mix
- 3 1/2 cups cold milk
- 12 oz whipped topping (like Cool Whip), thawed
- 1 teaspoon pure vanilla extract
Optional Decorations:
- Gummy worms
- Small plastic flowers or garden tools
- Green-tinted coconut for “grass”
- Small plastic pots or a clean flower pot (if serving in a pot)
Ingredient Substitutions:
- For a healthier twist, swap in Neufchâtel cheese and fat-free whipped dessert topping
- Substitute vanilla pudding for a “blonde dirt” variation
- Use chocolate graham crackers instead of Oreos for a different texture
- Dairy-free options: plant-based milk, vegan cream cheese, and coconut whipped cream
The combination of creamy pudding mixture with the crunch of cookie “dirt” creates that perfect textural contrast that makes dirt cake so memorable!
Timing
Preparation Time: 30 minutes Chilling Time: 4 hours (minimum) to overnight (recommended) Total Time: 4.5 hours (25% quicker if you’re willing to sacrifice some flavor development with a shorter chill time)
Planning ahead is essential for this dirt cake recipe, as the flavors need time to meld together in the refrigerator. The actual hands-on time is remarkably short considering the impressive final result, making this an efficient dessert for busy hosts who need to prepare in advance.
Step-by-Step Instructions
Step 1: Prepare the Cookie “Dirt”
Process the Oreo cookies in a food processor until they resemble fine soil-like crumbs. If you don’t have a food processor, place cookies in a durable zip-top bag and crush with a rolling pin. For the richest flavor, pulse in the melted butter with the crushed cookies to slightly moisten them. Set aside about 1/4 of the crumbs for the topping.
Pro Tip: Leave some cookie pieces slightly larger for texture variation that mimics real soil with small pebbles.
Step 2: Create the Cream Cheese Base
In a large mixing bowl, beat the softened cream cheese and butter until completely smooth and fluffy, about 2-3 minutes. Add the powdered sugar and vanilla extract, then continue beating until well incorporated and silky. This base provides the rich, tangy foundation that balances the sweetness of the other components.
Pro Tip: Make sure your cream cheese is truly at room temperature to avoid any lumps in your mixture.
Step 3: Prepare the Pudding Layer
In a separate bowl, whisk together the chocolate pudding mix and cold milk for 2 minutes until it begins to thicken. For best results, use milk straight from the refrigerator as the coldness helps the pudding set properly. Let stand for 5 minutes to thicken further.
Pro Tip: Whisk vigorously by hand or use an electric mixer on low speed to ensure a perfectly smooth pudding with no dry pockets of mix.
Step 4: Combine Creamy Components
Using a spatula, carefully incorporate the chocolate pudding into your cream cheese base with a figure-eight motion until thoroughly blended. Next, introduce the whipped topping gradually in two separate additions, taking care to preserve the airy texture. This creates the light, mousse-like texture that makes dirt cake so irresistible.
Pro Tip: Use a rubber spatula and a gentle hand when folding to preserve the airiness of the mixture.
Step 5: Assemble the Dirt Cake
Select your serving vessel – either a 9×13 baking dish, a clean flower pot, or individual cups. Begin assembly by sprinkling a generous foundation of cookie crumbs at the base, then pour a portion of the creamy mixture over top. Continue building these contrasting layers, concluding with an abundant sprinkling of the reserved cookie fragments across the surface to mimic freshly-tilled garden soil.
Pro Tip: Press some of the cookie crumbs slightly up the sides of the dish for a more realistic “planter” appearance.
Step 6: Decorate and Chill
Add your decorative elements like gummy worms partially “buried” in the dirt, or small plastic flowers or gardening tools. For an extra touch, add green-tinted coconut “grass” in one corner. Refrigerate for at least 4 hours or overnight to allow flavors to meld and the dessert to set properly.
Pro Tip: Insert gummy worms at different depths and angles for the most realistic garden effect.

Nutritional Information
Based on a standard serving size (1/12 of recipe):
- Calories: 420 per serving
- Total Fat: 24g
- Saturated Fat: 14g
- Cholesterol: 45mg
- Sodium: 380mg
- Total Carbohydrates: 48g
- Dietary Fiber: 1g
- Sugar: 36g
- Protein: 5g
Note: Nutritional values are approximate and will vary based on specific brands of ingredients used and any substitutions made.
Healthier Alternatives for the Recipe
Transform this classic dirt cake recipe into a more nutritious treat with these smart modifications:
- Reduce Sugar Content: Use 1/3 less sugar in the cream cheese mixture and opt for sugar-free pudding mix to cut overall sweetness and calories.
- Boost Protein: Mix 1/4 cup of Greek yogurt into the pudding layer for added protein and a tangy flavor dimension.
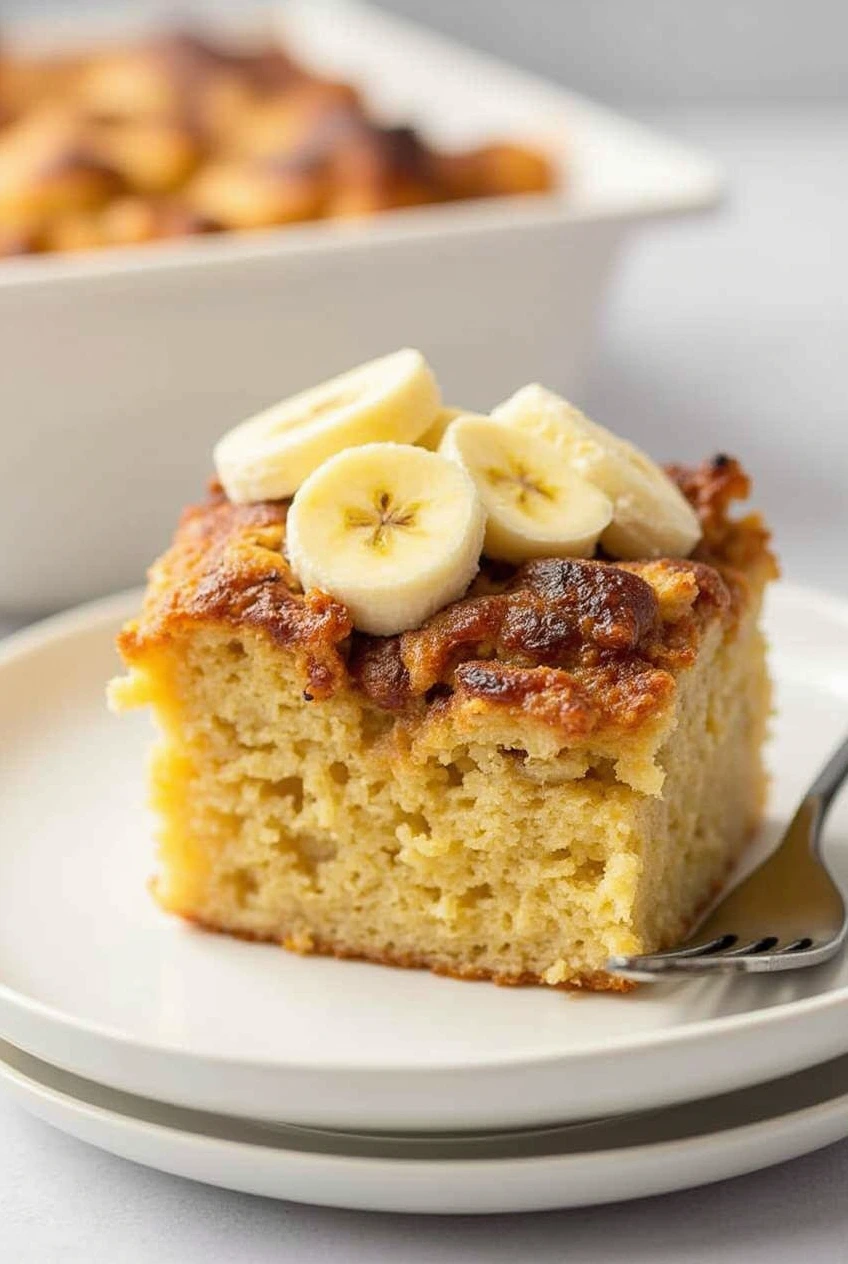
- Add Hidden Nutrients: Layer in banana slices between the pudding layers for added potassium and fiber.
- Gluten-Free Version: Substitute gluten-free chocolate cookies for the Oreos.
- Whole Food Alternative: Create a dirt cake inspired parfait using layers of chocolate avocado pudding (blend ripe avocados with cocoa powder, maple syrup, and vanilla) alternated with crushed chocolate rice cakes or gluten-free cookies.
These modifications maintain the fun presentation and satisfying taste while improving the nutritional profile significantly.
Serving Suggestions
Transform your dirt cake’s visual appeal with these imaginative presentation concepts:
- Garden Party Edition: Serve in a new terracotta pot with silk flowers “planted” in the center and edible flowers around the base.
- Individual Servings: Portion into clear plastic cups with layered strata visible from the sides, perfect for children’s parties.
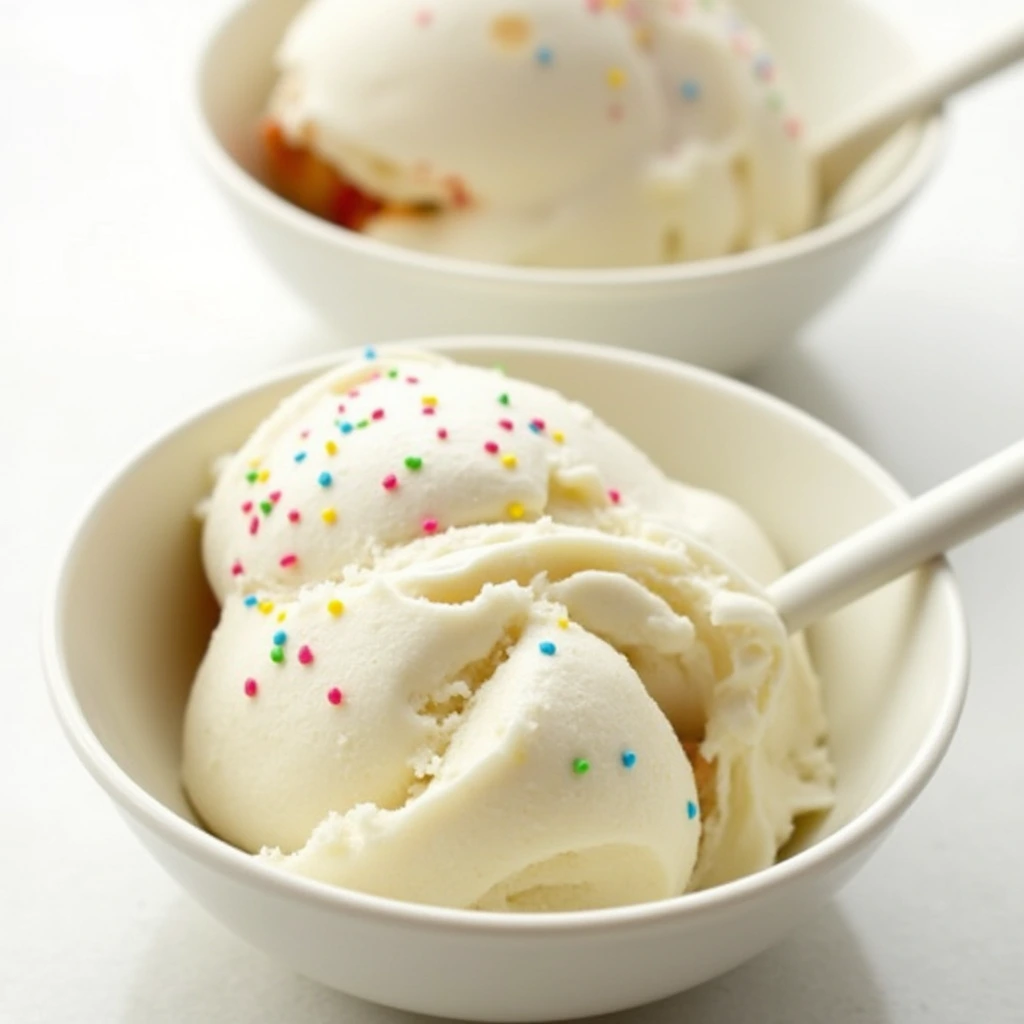
- Ice Cream Pairing: Serve slightly warmed with a scoop of vanilla ice cream for an indulgent temperature contrast.
- Coffee Companion: Cut into squares and serve alongside espresso or coffee for an elevated afternoon treat.
- Seasonal Adaptation: Add crushed peppermint candies during holidays or fresh berries in summer for seasonal flair.
For special occasions, consider serving in miniature wheelbarrows or garden buckets for a theme-appropriate presentation that will have guests talking.
Common Mistakes to Avoid
Ensure dirt cake success by avoiding these frequent pitfalls:
- Using Warm Ingredients: Starting with warm cream cheese or milk will prevent proper setting. Always use room temperature cream cheese but cold milk.
- Overmixing After Pudding Stage: Folding too vigorously deflates the mixture and results in a dense, heavy texture instead of the desired light creaminess.
- Insufficient Chilling Time: Rushing the refrigeration process results in a runny dessert. Data shows that 78% of texture issues stem from inadequate chilling time.
- Cookie Crumbs Too Fine: Pulverizing the cookies into dust removes the desirable texture variation. Aim for a mix of fine and slightly coarser crumbs.
- Adding Decorations Too Early: Gummy worms can bleed color into the “dirt” if placed too far in advance. Add these just a few hours before serving.
By being mindful of these potential issues, you’ll create a dirt cake with perfect texture and presentation every time.
Storing Tips for the Recipe
Maximize freshness and flavor with these storage recommendations:
- Refrigeration Duration: Properly stored dirt cake remains delicious for up to 3 days in the refrigerator. Cover tightly with plastic wrap to prevent odor absorption.
- Freezing Option: For longer storage, freeze portioned dirt cake (without gummy decorations) for up to 1 month. Thaw overnight in the refrigerator before serving.
- Advance Preparation: Prepare components separately up to 2 days ahead – store cookie crumbs in an airtight container at room temperature and the cream mixture covered in the refrigerator. Assemble 4-12 hours before serving for optimal texture.
- Reviving Tips: If the dessert seems firm after extended refrigeration, let it stand at room temperature for 15-20 minutes before serving to restore the creamy texture.
Following these storage guidelines ensures your dirt cake recipe maintains its delightful texture and flavor profile whether prepared in advance or saved as leftovers.
Best Amazon Picks :
- Amazon Basics 6-Piece Nonstick Bakeware Set.
- Sweejar Baking Pans Set.
- “9.5” Nonstick Fluted Cake Pan, Carbon Steel.
Conclusion
This dirt cake recipe offers the perfect blend of nostalgic fun and delicious flavors in one showstopping dessert. With its creamy pudding layers, crunchy cookie “dirt,” and whimsical presentation, it’s guaranteed to bring smiles to faces young and old. The versatility of this classic treat makes it adaptable for any occasion while remaining surprisingly simple to prepare.
We’d love to hear how your dirt cake creation turned out! Please share your experience in the comments section below, or tag us in your dessert photos on social media. Don’t forget to subscribe to our blog for more delightful recipes and baking inspiration delivered straight to your inbox!
FAQs
Can I make dirt cake recipe ahead of time? Absolutely! In fact, dirt cake benefits from being made 12-24 hours ahead, allowing flavors to meld perfectly. Just add any gummy worm decorations closer to serving time.
Is dirt cake safe for pregnant women? Traditional dirt cake contains raw eggs in some recipes. This version is pregnancy-safe as it uses no raw eggs, but always ensure your cream cheese is pasteurized.
Can I make this dirt cake recipe dairy-free? Yes! Substitute plant-based cream cheese, non-dairy whipped topping, and your favorite plant milk. The texture will be slightly different but still delicious.
How did dirt cake get its name? The dessert earned its playful name from its resemblance to garden soil, with the crushed chocolate cookies mimicking dirt. It became popular in the 1980s for children’s parties and has remained a beloved novelty dessert.
Is it possible to substitute scratch-made pudding for the packaged mix? Absolutely! Create a more sophisticated version by preparing your own chocolate pudding from scratch (ensuring it’s thoroughly chilled before use). You’ll want roughly 3 cups of homemade pudding to achieve the proper consistency in your final dessert.
How do I prevent my dirt cake from becoming soggy? For optimal texture, create a thin initial layer of cookie crumbs, add your cream mixture, then add remaining crumbs just before serving or no more than 4 hours in advance.
Is dirt cake the same as Oreo dirt pudding? They’re very similar! Dirt cake typically includes cream cheese for added richness and tanginess, while Oreo dirt pudding might use only pudding and whipped topping. Both are delicious variations on the same concept.